
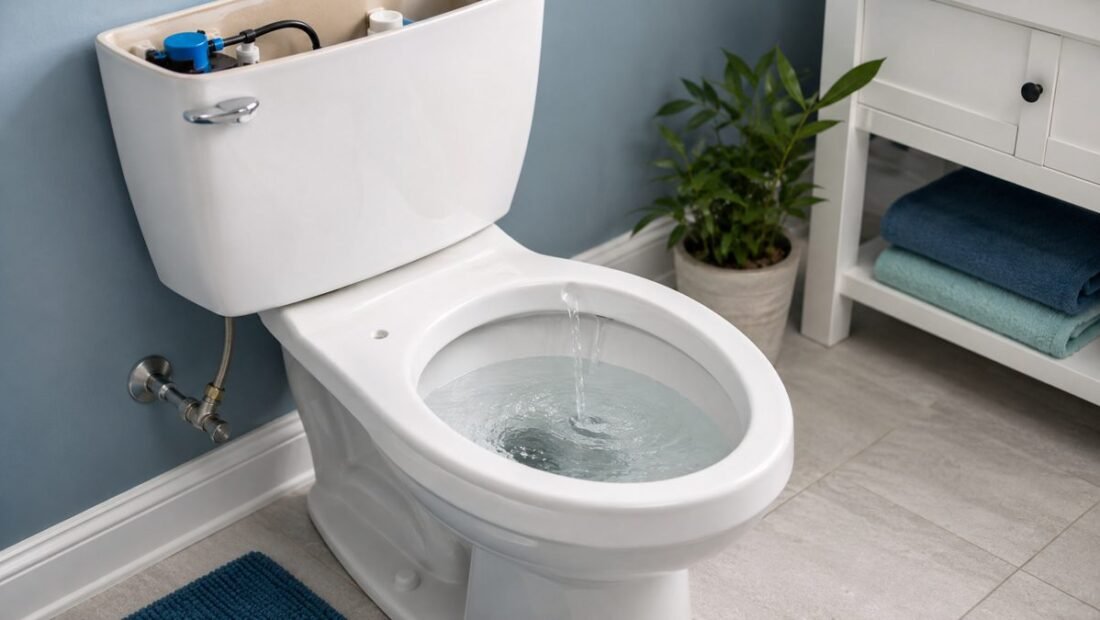
A toilet that runs all night is not broken in any dramatic way. Nothing is cracked, nothing floods; one tired rubber disc, a chain with the wrong slack, or a fill valve at the wrong height keeps a quiet stream of treated water moving from tank to bowl to sewer, around the clock, and bills you for every gallon. The repair, in the overwhelming majority of cases, is a 20-minute job with parts under $15 — and the diagnosis takes two minutes of looking into the tank. Here is the whole job, in the order a plumber would do it.
What you need
- A universal replacement flapper ($5 to $10) — buy it before you start, return it if unused
- A sponge and an old towel for the last of the tank water
- Food coloring or a few drops of dark drink mix for the leak test
- Scissors, if the new flapper’s chain needs trimming
- Possibly a replacement fill valve ($10 to $15) — decide after Step 2
- Your phone flashlight; tank interiors are dimmer than you expect
Step 1: Take the lid off and read the symptoms
Remove the tank lid and set it somewhere it cannot fall — porcelain lids are the most commonly broken part in this entire repair, and they break on tile floors, not in the tank. Then observe before touching. Three different failures all present as “running,” and they look different. If water is trickling over the top of the overflow tube, the fill valve is shutting off too late or not at all, and the water level is the problem. If the water level is below the tube but the tank slowly loses water and the fill valve tops it up every few minutes in a short burst — the classic phantom flush — water is escaping at the bottom, through the flapper. If the toilet runs for a minute after flushing and then stops, suspect the chain: too much slack lets it slide under the flapper and hold it open; too little holds the flapper up permanently. Watch one full cycle before deciding. Diagnosis by looking is free, and each of the three fixes below matches one of these pictures.
Step 2: The dye test, for when the picture is unclear
If the running is intermittent and the cause is not obvious, prove the flapper guilty or innocent. Add food coloring to the tank water, do not flush, and wait 15 to 20 minutes. Color appearing in the bowl means tank water is migrating past the flapper seal — the flapper, its seat, or the chain is at fault. A bowl that stays clear points back to the fill valve and water level. This test matters because replacing a healthy flapper fixes nothing and wastes the one thing this job is supposed to save, which is time. Note the water level while you wait: it should sit about an inch below the top of the overflow tube, at the line usually marked inside the tank. A level above the line with a clear bowl is a fill-valve adjustment, nothing more.
Step 3: Replace the flapper
Turn the water off at the wall valve, flush to empty the tank, and sponge out the remainder. The flapper unhooks from two pegs on the overflow tube and its chain unclips from the flush lever — no tools, thirty seconds. Before fitting the new one, run a fingertip around the flush valve seat the flapper seals against; mineral crust or a nick there will leak under any new flapper, and a gentle wipe with a cloth or a light pass with a scouring pad restores most seats. Snap the new flapper onto the pegs, connect the chain with about half an inch of slack — enough that the flapper can fall fully closed, not so much that it can wander underneath — and turn the water back on. Universal flappers at $5 to $10 fit the great majority of toilets; bring the old one to the store if your model looks unusual. Test with two flushes and watch the flapper land both times.
Step 4: Adjust or replace the fill valve
If the water level was the culprit, adjust first: most modern fill valves have a screw or a squeeze-clip on a float that slides up and down the valve body; set the level an inch below the overflow tube top and confirm with a flush. If the valve never shuts off, shuts off with a shriek, or is old enough that its seals have hardened, replace it — a $10 to $15 part and still a DIY job: water off, tank drained, supply line and valve nut undone from below, new valve in at the height marked for your tank, supply reconnected, and a slow first fill while you watch every joint for drips. This is the same family of small plumbing maintenance as how to fix a leaky faucet without calling a plumber — rubber parts age out on a schedule, and swapping them early is the whole philosophy.
Step 5: Confirm the repair with silence and arithmetic
Repeat the dye test after the fix; a clear bowl after 20 minutes is proof, not optimism. Then listen for a full hour of household quiet: the phantom top-up every few minutes should be gone. It is worth understanding what you were paying for the procrastination. A toilet leaking at the flapper can waste 20 to 50 gallons a day without making a sound impressive enough to mention; a fill valve that never closes can waste far more. At typical combined water and sewer rates, the quiet end of that range is worth roughly $50 to $150 a month — real money, leaving silently, which is why the EPA WaterSense page on residential toilet water use treats toilet leaks as the first place to look in a household water audit. The $5 flapper pays for itself within days. Optional while the lid is off: a dual-flush converter kit, around $25, replaces the flapper arrangement with a two-button system that uses less water for liquid waste and can cut a toilet’s consumption noticeably — a sensible upgrade, but only after the basic seal is sound.
The two-minute causes: chain, handle and mineral crust
Before any part is bought, three causes that cost nothing deserve their own look, because together they account for a large share of running toilets. The chain, already mentioned, is the first: it should rise straight from the flapper to the lever arm, with slack you can measure in millimeters. Chains tangle on their own clips, catch on the flush lever, and — the sneaky version — get replaced by a helpful hand with a chain one link too long that drifts under the flapper every tenth flush, producing a toilet that runs only sometimes, usually at night, and maddens its owner for months. The handle is the second: a handle nut loosened over years lets the lever hang at an angle that holds the chain’s line wrong, and a handle that sticks down after a flush keeps the flapper open by main force; a quarter-turn on the nut (it is usually reverse-threaded — turn it the way that feels wrong) or a $6 replacement handle ends it. The third is the flush valve seat under the flapper: in hard-water homes, mineral crust builds there until even a new flapper seals against gravel. It deserves repeating that the fingertip test in Step 3 is what finds it.
Older toilets and oddball parts
Most of this article assumes the standard gravity toilet found in the overwhelming majority of homes. A few variations change the shopping, not the logic. Older high-capacity toilets use a larger 3-inch flush valve and need the bigger flapper to match — the dye test and the swap are identical, only the diameter differs, which is the second reason to carry the old flapper to the store. Canister-style flush valves, increasingly common, replace the flapper with a cylinder that lifts straight up; their seal is a flat gasket at the canister’s base, replaceable in the same twenty minutes once the canister is twisted free. Dual-flush factory toilets have two buttons and a more complex valve, and their running is usually the same gasket story at a different address. Pressure-assist toilets — the kind that whoosh — are the exception to the whole article: their sealed vessel is a replace-by-unit part, and opening one is a job to delegate. Identify which animal lives in your tank before buying parts, and every version of this repair stays inside the same skill level: observe, test with dye, replace the rubber, confirm with silence.
When to stop and call a plumber
Three findings end the DIY version of this job. Cracks anywhere in the porcelain — tank or bowl — mean replacement, not repair. A leak at the base, or a toilet that rocks on the floor, points to the wax ring and possibly a rotted subfloor, a bigger job with its own article’s worth of steps. And corrosion or a shutoff valve at the wall that will not close fully should be replaced by someone insured before it becomes the emergency. Everything else — flappers, chains, fill valves, water levels — belongs to the homeowner with a sponge and twenty minutes. Put the lid back on gently. The silence that follows is the most satisfying sound in home repair, and this time it is also a lower water bill.

1 Comment