
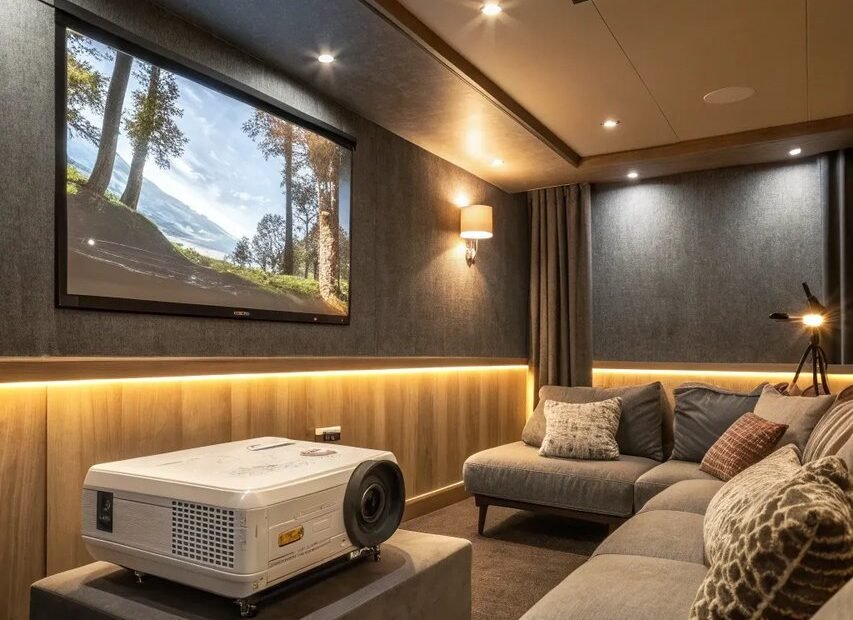
The theater feeling is mostly darkness and sound, in that order. The giant screen comes third, and the ticket price comes nowhere near the top of the list. That order surprises people because the screen is the part everyone shops for, yet a bright room with a ceiling light leaking across the picture and thin television speakers underneath it will never feel like a cinema, no matter how large the display is. Fix the dark first, fix the sound second, and a normal living room gets close surprisingly fast.
Six steps turn a regular room into a screening room for an evening. None of them require a dedicated room, and the honest math is simple: the middle budget tier below buys about 90% of the theater feeling for a fraction of what a dedicated room costs. Work through the steps in order, since each one makes the next one count more.
Step 1: Kill Every Light Source
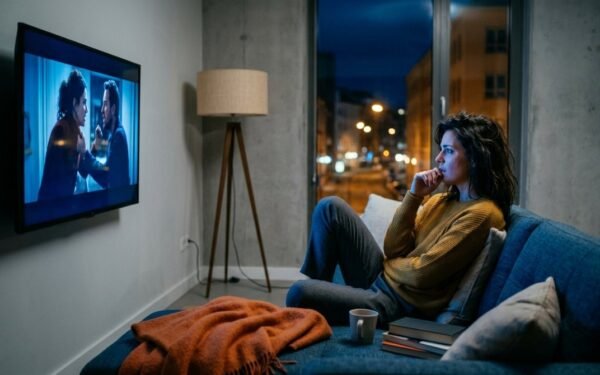
Darkness is the cheapest upgrade and the most ignored. Start with the windows. Blackout curtains are the tidy solution, but thick blankets pinned or draped over windows work for a single evening and cost nothing. Close doors to lit hallways. If a kitchen or entry light spills in, turn it off at the source rather than dimming the screen to compete with it.
Then hunt the small lights. Standby LEDs on televisions, game consoles, chargers, and power strips throw tiny bright dots into a dark room, and eyes keep drifting toward them. A small piece of electrical tape over each standby LED solves it in seconds and peels off cleanly later. Cover or turn off glowing clocks and router lights where possible. Leave one low, warm light available outside the viewing area for safe trips to the bathroom, placed so it does not shine on the screen.
Give eyes a minute to adjust before judging the result. A room that looks merely dim while standing in a lit doorway looks properly dark after sitting down for sixty seconds. That adjustment is a large part of why cinemas feel immersive before the film even starts.
Step 2: Fix the Sound Before the Picture
Television speakers are the weakest link in almost every home setup. They are small, they often face down or backward, and dialogue gets buried under music and effects. Audiences forgive a mediocre picture far more easily than bad sound. A film that looks slightly soft still plays; a film where every third line is unclear does not.
Even a $100 soundbar transforms the experience. Center it directly under the screen so voices appear to come from the faces speaking them, rather than from a corner of the room. Keep it on a solid surface, clear of soft furnishings that muffle it, and point any separate subwoofer along a wall rather than into a cabinet.
Use dialogue mode if the soundbar or television offers it. That setting lifts speech and pulls back bass and effects, which helps in rooms with hard floors or late-night volume limits. Test it with a quiet, talk-heavy scene before guests arrive, not with an action trailer. Trailers are mixed to sound huge; quiet conversation reveals whether words are actually clear.
For a backyard setup, use a wired connection outdoors to avoid Bluetooth lag. A voice arriving a fraction after the lips move will bother viewers all evening, and wireless dropouts get worse with distance and walls in between. A long cable is unglamorous and completely reliable.
Anyone comparing projectors and audio gear will find useful measurements and plain setup guidance in ProjectorCentral’s projector reviews and setup advice, especially on throw distance and brightness for a given room.
Step 3: Get the Image Big
Size matters, but only after darkness and sound are handled. Three budget tiers cover nearly every home, and the right tier depends on the room and how often movie night happens.
- The ~$50 upgrade of what you own. Keep the current television or laptop screen, spend the small budget on blackout help, a basic external speaker if none is available, and real popcorn supplies. This tier proves the point of the first two steps: a modest screen in a truly dark room with clear sound already feels like an event.
- The $150–400 projector tier. A 1080p projector in this range, aimed at a white wall or a ~$30 screen, produces a 100-inch picture that no television near the same total cost can match for scale. This is the sweet spot. Seating roughly 10 to 12 feet back gives a wide, cinema-like view without visible softness becoming a distraction.
- The dedicated room. A fixed screen, controlled seating, and permanent audio make sense only if you truly want it and will use it weekly. It is a furniture and renovation decision, not a movie night requirement. Most households get the feeling they want from tier two and never need to go further.
Whichever tier applies, fill as much of the natural field of view as is comfortable. Move seats closer to a television rather than sitting far back out of habit. For a projector, test the image size before the evening, check focus at the seats rather than at the wall, and make sure air vents are not blocked by a stack of books or a cushion used as a stand.
Picking the film deserves the same care as the room, and choosing from the best family movies on Netflix for a weekend ahead of time prevents the twenty-minute scroll that drains the room before the opening scene.
Step 4: Seat People Properly
A theater seats every viewer facing the screen at a sensible distance. A living room often does the opposite: two good seats in the middle, one chair twisted in from the side, and someone on the floor craning upward. Rearrange for the evening. Pull chairs into a loose arc facing the screen, keep the center seats for guests, and remove any seat that forces a turned neck for two hours.
Distance depends on image size. With a 100-inch projector picture, about 10 to 12 feet back works well. With a television, sitting closer than the usual furniture layout suggests is usually better; the screen should feel large without forcing eyes to dart across it. Keep the screen center near eye level for seated viewers. A screen mounted high above a fireplace looks tidy during the day and aches by the midpoint of a film.
Leave clear paths. People should be able to reach a seat without stepping over legs, cables, or a low table covered in drinks. Run any cable along a wall or tape it flat where it crosses a walkway. Add cushions and blankets after the layout works, not as a fix for a bad angle.
Step 5: Do Snacks Like a Theater
Make real popcorn. Stovetop or air-popped popcorn with butter and salt tastes like a cinema in a way a microwave bag rarely does, and it can be made in a large batch before anyone sits down. Serve it in individual bowls or paper bags so passing and rustling stay low during quiet scenes.
Have drinks ready before the lights go down. Cans, bottles, cups with lids for younger viewers, and a small trash bowl for wrappers should all be within reach of the seats. Set out anything else the group expects, such as candy or napkins, at the same time. The goal is no mid-film kitchen trips, no bright fridge light, and no whispered negotiation about where the bottle opener went.
Keep food simple and low-mess. Theater snacks work because they can be eaten in the dark without looking down. Anything that needs a plate balanced on a lap, a sauce pot, or a second serving halfway through belongs to dinner, not the screening.
Step 6: Run It Like a Screening
State a start time and honor it. A short pre-show helps: trailers, a favorite short clip, or simply lights lowered while people settle with snacks in hand. It signals that the evening has begun and gives late seat-finding a buffer before the actual film.
Phones away is the rule that protects everything else. A single bright phone screen in a blacked-out room undoes Step 1 for every person behind it. Ask for phones on silent and face down, or in another room for anyone who can manage it. Start the film, set the volume once during the first dialogue scene, and then leave the remote alone.
No pausing except a planned intermission for long films. For a film over two hours, a ten-minute break at a natural midpoint, with lights half up and the concession stand open again, keeps people comfortable without breaking the spell every twenty minutes. Shorter films run straight through.
The Backyard Variant
The same order applies outdoors, with three adjustments. Start after full dark, since twilight washes out a projector image even when it looks bright enough while setting up. Use a portable speaker with a wired connection, placed near the screen so sound and picture come from the same direction. Keep the volume neighbor-friendly: clear dialogue at the seats matters more than booming effects carrying down the street.
A white sheet or portable screen on a fence works if it hangs flat and still; wrinkles and flapping corners distract more outside because there is no wall behind them. Secure the projector on a stable table, keep drinks away from cables on the ground, and have blankets ready, since outdoor seats cool quickly once the film starts.
At the end of either version, the test is simple. If the room stayed dark, the words stayed clear, nobody left their seat hunting for a snack, and the film ran without negotiation, the theater feeling was there. Screen size helped, but darkness and sound built it.



2 Comments