Ninety-five degrees is a number a lot of gaming PCs meet from the inside long before the room feels that hot. The fans get loud, the frame rate slides in hour three, and the owner assumes the machine needs more cooling power. Most of the time it does not. A gaming PC rarely lacks cooling. It lacks housekeeping. The cooler, the fans, and the case were usually adequate on the day the system was built, and then dust, placement, dried paste, and tangled fan directions slowly took that margin away. The mistakes come first here, because fixing them in the wrong order wastes money on parts that were never the problem.
The Mistakes That Cook a Perfectly Good PC
Mistake One: Judging Temperature by Fan Noise
Fan noise is a terrible thermometer. A build can be loud and safe, with aggressive fans holding the chips well inside their range, or quiet and cooking, with a gentle fan profile letting heat soak into every part while the room stays calm. Only a monitoring readout knows which machine you own. Get the numbers first, under a real gaming load, after twenty or thirty minutes when the system has warmed through. As general guidance, a CPU sitting under about 85 degrees under gaming load and a GPU under about 83 are in the normal working world. Sustained readings above that earn attention. Brief spikes matter less than the number the machine settles at and holds. Without that baseline, every other fix is a guess, and guesses in PC cooling tend to be expensive.
Mistake Two: Letting Dust Insulate the Cooling You Paid For
Dust does not just look bad. A layer of it on intake filters chokes the air entering the case, and a mat of it on heatsink fins insulates the metal that is supposed to hand heat to that air. Fans with furred blades move less air at the same speed. The machine that has never been cleaned is paying for cooling it cannot use. This creeps in slowly, a degree at a time, which is why owners blame newer games for heat that is really three years of household dust, pet hair, and carpet fibers doing quiet, steady work.
Mistake Three: Fans at War With Each Other
Every fan set to exhaust sounds logical and works badly. So does a mix where intakes and exhausts cancel each other out and air wanders instead of traveling. A case needs a direction: air enters in one place, passes over the hot parts, and leaves somewhere else. When fans fight, pockets of hot air sit still around the graphics card and the CPU socket, recycling heat instead of removing it. Owners add a faster fan to this mess and hear more noise for almost no gain, because the path, not the power, was broken.
Mistake Four: The Closed Cabinet and the Wall
A PC tucked into a closed desk cabinet, or backed tight against a wall, is a PC trying to breathe through furniture. Exhaust air fills the small space, gets pulled straight back in as intake air, and temperatures climb in a loop that no cooler inside the case can break. The same machine on an open desk, with a few inches of clearance where its vents sit, can run several degrees cooler without a single part changed. Carpet under a bottom intake does similar harm, feeding dust upward while blocking the opening at the same time.
Mistake Five: Five-Year-Old Thermal Paste
Thermal paste is the thin compound between a chip and its cooler, and it dries out over roughly three to five years. As it dries, heat crosses it badly. Temperatures creep a few degrees a year while the owner blames the games, the drivers, or the summer. The clue is a clean, well-ventilated machine that used to run cooler and no longer does, with no change in hardware or settings to explain it. Paste failure is slow and unglamorous, which is why it gets missed while flashier upgrades get bought.
Mistake Six: Asking the Stock Cooler to Serve a Hot Chip
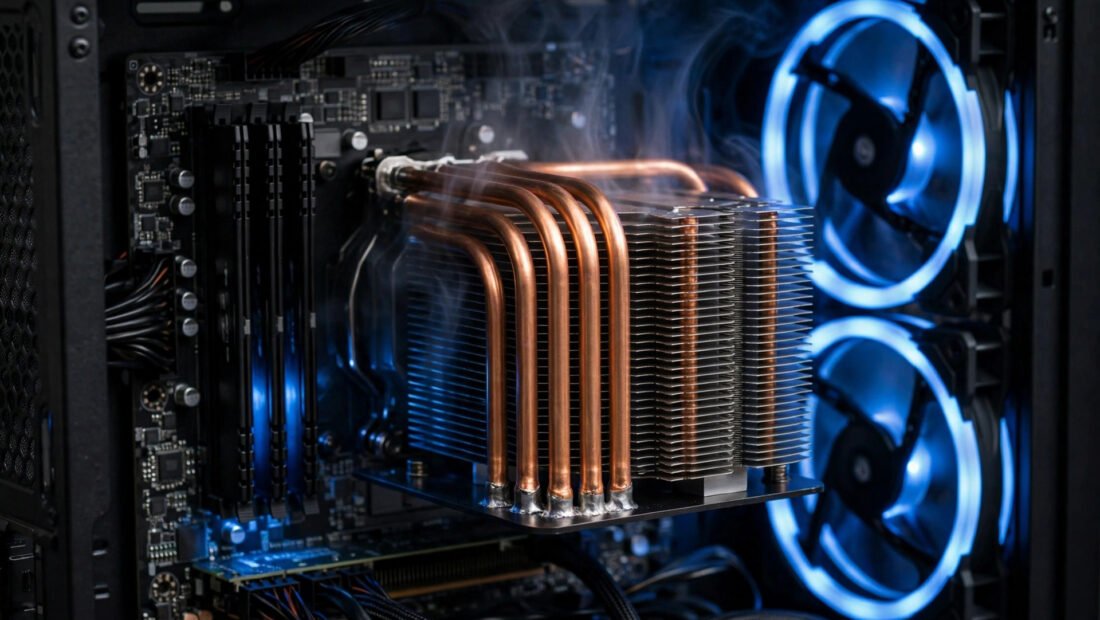
The bundled stock cooler that ships with some processors is built to a price, and on a hot chip under long gaming loads it can simply run out of headroom. Fans sit at full speed, noise stays high, and temperatures still hover near the top of the range. A $35 tower cooler can outperform that stock unit by 15 degrees or more, thanks to a larger heatsink and a bigger, slower fan. The mistake is not owning a stock cooler. The mistake is upgrading everything else — paste, fans, even the case — before admitting the cooler itself is the ceiling.
The Correct System, Built in Order
Airflow as the Foundation
Start with the path. Cool air comes in low at the front and bottom of the case. Hot air goes out at the rear and top, working with the natural rise of warm air instead of against it. Aim for slight positive pressure — a little more intake than exhaust — so air leaves through the filters and seams in a controlled way, which also slows dust entry through every unfiltered gap. Check each fan’s direction by holding a light strip of tissue near it if the blades do not make the answer obvious. Route cables out of the main airway where you can. None of this requires new parts, and it should be settled before any part is bought, because a good cooler in a suffocating case still suffocates. The same blocked-vent logic explains why your laptop overheats and how to fix it, just in a much smaller box.
Fan Curves With a Shape
Next, give the fans instructions that match how heat actually builds. A useful curve is quiet below 60 degrees, so desktop work and light games stay calm, then ramps honestly above it, reaching strong speed before the chips reach the top of their comfortable range. A flat line fails in both directions: set low, it lets a long session heat-soak; set high, it is deafening during tasks that never needed it. Most motherboards and free control tools let you set points against CPU or GPU temperature. Judge the result by the numbers you gathered earlier, not by whether the machine sounds busy. For broader setup walk-throughs, How-To Geek’s PC cooling and hardware guides cover fan control and cooler fitting in practical detail.
A Cleaning Cadence You Will Actually Keep
Cleaning works when it is scheduled, not heroic. Wipe or rinse the intake filters monthly in a dusty Texas home, where air conditioning cycles and dry soil keep fine dust moving for much of the year. Do a full clean every three to six months: power down, unplug, move the machine somewhere the dust can go, and use cans of air in short bursts while holding each fan still with a finger, so the blades do not spin freely and strain their bearings. A soft brush loosens what air alone leaves behind on heatsink fins. Twenty minutes on that rhythm holds cooling performance near its designed level, instead of letting it sag until a crisis clean becomes a weekend project.
The Ambient Truth Nobody Can Overclock Around
Room temperature is the floor everything else stands on. Every degree of room temperature lands almost directly on component temperatures, because the case can only cool toward the air it is given. The same PC runs roughly 5 degrees hotter in an 82-degree room than in a 72-degree one. In Texas, that makes the cheapest cooling upgrade the room itself: close the blinds on the sun side during an afternoon session, keep the PC out of direct sunlight, and let air conditioning or a simple room fan do work that no heatsink can. Long sessions in the cooler evening hours are not a compromise. They are a legitimate cooling strategy in a hot state, and they cost nothing at all.
Repasting as the Mid-Life Service
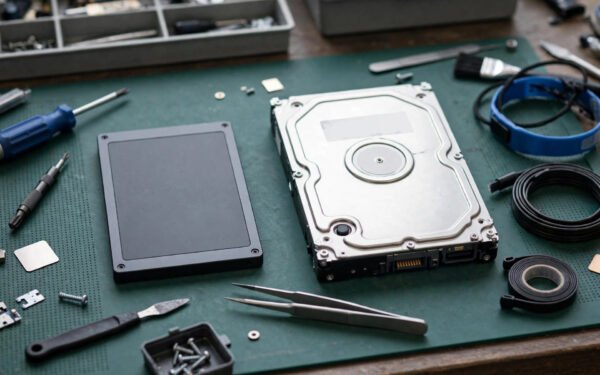
When a clean machine with good airflow still runs hotter than it used to, repaste the CPU. The rhythm is every three to five years, or sooner when temperatures creep despite everything else being right. The job means removing the cooler, cleaning the old compound off with isopropyl alcohol, applying a small pea-sized amount of fresh paste, and remounting the cooler evenly. It is careful work rather than hard work. Watch a walk-through for your specific cooler first, keep track of screws, and test under load afterward against your earlier baseline. Graphics card paste follows the same logic on a longer clock, and it is worth leaving to a confident hand, since those cards come apart in more pieces.
Liquid Cooling, Placed Honestly
Liquid cooling belongs at the end of the list, in its proper place. A good large air tower matches most all-in-one liquid coolers in real gaming temperatures, costs less, and has no pump to fail and no liquid to leak. Liquid earns its money on the hottest chips, where its larger radiator area pulls ahead, and in the smallest cases, where a tall air tower physically does not fit. It is not a default upgrade and it does not rescue bad airflow, old dust, or a cabinet with the door shut. Buy it for a reason you can name — a specific hot processor, a specific small case — and the purchase will hold up.
Putting the Order Together for a Long Session
The sequence is the whole lesson. Measure first, so you know whether you have a problem and how large it is. Clean the machine and clear its surroundings, because those fixes are free and often sufficient. Set the airflow direction and a fan curve with a real shape. Cool the room as far as your household allows. Then, and only then, spend money in the order the evidence points: a tower cooler if the stock unit is the ceiling, fresh paste if age is the story, liquid only if the chip or the case demands it. A PC maintained in that order holds its temperatures, its frame rates, and its composure through the longest sessions, year after year, without drama at hour three.