
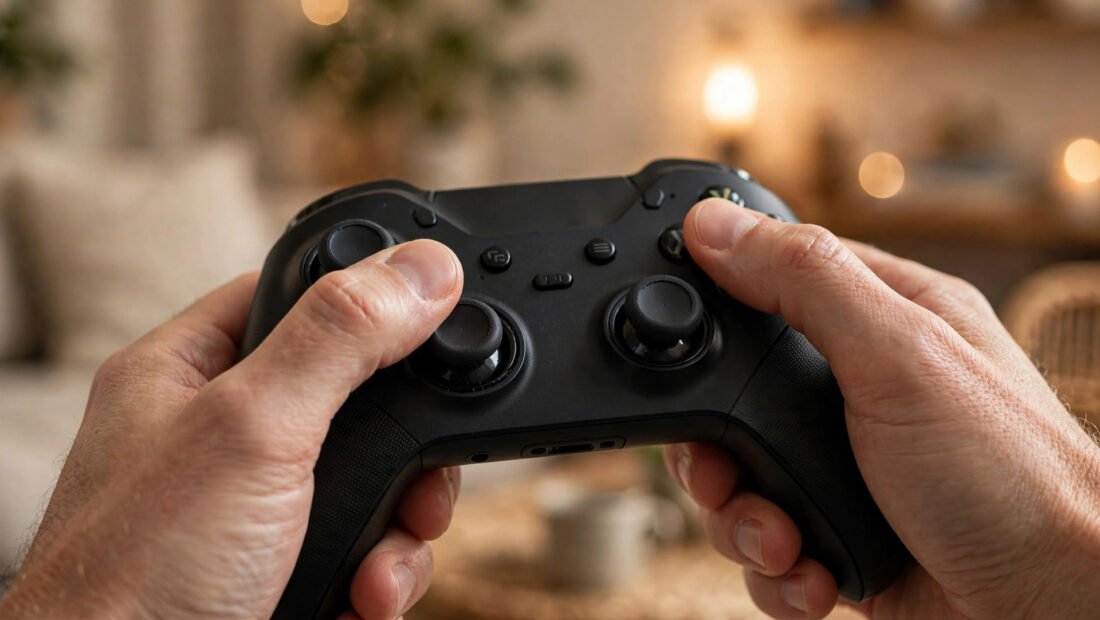
Your thumb is off the stick. Your hands are still. On screen, your character keeps walking left anyway, slow and steady, like something invisible is leaning on the controller. That is stick drift, and the first urge most people have is to fix it fast with whatever trick shows up first in a search. Slow down. Two of the most shared fixes do not just fail. They make the problem worse, and a third one hides the problem until the controller feels loose and drunk in your hands.
Mistake One: Blowing Into the Stick
Blowing into the base of the stick feels like common sense. Dust got in, so air should push it out. The trouble is where that air comes from. Breath is warm and damp. Each puff adds a small amount of moisture to the tight space under the stick, right where metal contacts and a thin carbon track need to stay clean and dry. Moisture mixes with dust and skin oils and turns loose grit into a sticky film. That film sits on the exact parts the sensor reads.
Drift may pause for a day because the puff moved a loose speck, then return worse, with the speck now stuck instead of loose. Canned compressed air is a different tool entirely: dry, forceful, and used in short bursts. Breath is its opposite.
Mistake Two: Spraying Household Lubricants Inside
The second bad fix comes from the garage shelf. A general household lubricant, a silicone spray, or a penetrating oil gets squirted into the stick module to make it move freely again. The stick does feel smoother for a short while. That smooth feeling is the trap. Inside the module, a small wiper slides across a carbon track and the controller reads position from the contact between them. Oil coats both parts. The reading turns vague and jumpy because the contact the whole design depends on is now insulated and smeared.
These products also attract more dust than they remove, and within weeks the stick can drift in more directions than before the spray. Electrical contact cleaners are a separate category, reserved for the deeper step later. Kitchen and garage sprays do not belong inside a controller at all.
Mistake Three: Hiding the Drift in the Settings
Every system has a deadzone setting. The deadzone is the small area around the center of the stick where input is ignored, so tiny wobbles do not move your character. Widening it a little is a fair fix for mild drift, and it appears later on the repair ladder for exactly that reason. The mistake is using it as the only fix and widening it again and again each time the drift grows.
Past a point, the cost shows up in your hands. A very wide deadzone means you push the stick a long way before anything happens, then the input arrives all at once. Fine aim turns clumsy, and small corrections in a shooter or a racing game become hard to make. The symptom has been covered with a thicker and thicker blanket, and the worn parts underneath keep wearing. When the drift finally grows past even a wide deadzone, the repair that could have been simple months earlier is now a replacement.
What Is Actually Wearing Out
Most analog sticks read position with two small parts called potentiometers, one for side-to-side movement and one for up-and-down movement. As you move the stick, a wiper slides over a carbon track. The controller turns the change in electrical resistance into a position on screen. Drift starts when that reading no longer matches where the stick really sits. Dirt on the track, a worn patch where the wiper has rubbed for thousands of hours, or a tired centering spring can all shift the reading.
That is why drift tends to grow slowly and why it often favors one direction or one stick. The left stick does the constant work of movement in many games, so it often wears first. Sprinting by pressing the stick in adds extra strain. That points to a sensible order of repairs: free checks first, cleaning next, and parts only when cleaning stops helping. Guidance and photos for each controller model can be found in iFixit’s controller repair guides and teardowns, which are worth opening before any screws come out.
Step One on the Ladder: Recalibrate and Nudge the Deadzone
Start with no tools at all. Open the controller settings on your console or computer and run the calibration routine if one is offered. Calibration teaches the system where the true center and the true edges of the stick now are. A controller read slightly off center can behave again after this five-minute step.
Then set the deadzone with restraint. Raise it one small notch at a time and play for a few minutes between changes. Stop at the smallest setting where the drift disappears at rest and your aim still feels direct. For mild drift, this step alone is a complete and honest fix, because the wear is small. If you need a very wide setting to stop the movement, do not settle there. Move down the ladder.
Step Two: Clean Around the Base of the Stick
Turn the controller off and take it to a clean, bright surface. Hold a can of compressed air a short distance from the stick base and use brief bursts, not one long blast. While you spray, rotate the stick slowly through its full circle and tilt it toward each edge. The goal is to loosen debris from under the cap and blow it out through the gap, not to drive it deeper.
Follow with a cotton swab barely damp with isopropyl alcohol of 90 percent or higher. Barely damp is the key detail. A dripping swab can carry liquid inside. Work the swab around the base while rotating the stick, then let the controller sit until it is fully dry before turning it on. Many drift cases that look serious end here, especially on controllers that live on open shelves, travel loose in bags, or sit near snacks and pets. Test the controller before deciding the job failed.
Step Three: Open the Controller and Clean the Sensor Itself
If drift survives the outside cleaning, the dirt or wear is likely inside the stick module, on the wiper and track themselves. This is the step that calls for a pause. Opening most controllers voids the warranty. A controller still covered should go back to the maker for repair or replacement instead of onto your table. Check the purchase date and the warranty terms first. That one check can save the full price of a controller.
For a controller out of warranty, work slowly. Screws are small and not all the same length, so lay them out in order on a tray or a sheet of paper marked with their positions. A plastic prying tool opens the shell with less damage than a metal blade. Once inside, find the small boxes under each stick. A careful clean of the potentiometer contacts, done with the right contact cleaner and a light touch, can clear debris and restore a clean reading. Force helps nothing here. Clips snap and ribbon cables tear with a careless pull, so stop and look again rather than pulling harder.
Step Four: Replace the Stick Module
Cleaning cannot restore a carbon track that has worn through. When the track itself is damaged, the honest fix is a new module. Replacement modules are cheap parts, but fitting one usually means soldering, because the module pins pass through the board. Anyone who has never soldered should weigh the cost of a local repair shop against the cost of a ruined board. A shop fitting one is still far cheaper than a new controller in most cases.
One upgrade is worth knowing about at this stage. Hall-effect stick modules read position with magnets instead of a wiper rubbing on a track. Because nothing rubs, they cannot wear out in the same way, and drift from track wear is largely removed as a failure mode. They cost more and must match your controller model, so check fit before ordering. For a controller kept for years, the upgrade can end the drift cycle instead of restarting it. Players weighing the full setup around a repaired controller often also ask whether a 144Hz monitor is worth it for casual gaming, since a true stick and a clear screen solve two different halves of the same aim problem.
Test the Result Like You Mean It
Do not judge a repair by one calm minute in a menu. Use a free controller tester page or app, or the test screen built into your system settings, and watch the raw input with your hands completely off the controller. The marker should sit at center and stay there. Then circle each stick slowly, release it from each direction, and watch whether it returns to the same center point every time.
Repeat the test after each step of the ladder, not only at the end. That habit tells you which step actually fixed the fault. A stick that sits still for ten seconds but wanders after a full circle is not fixed yet. A stick that holds center through repeated circles and releases has earned a real game session as the final check. Keep notes on which stick drifted and in which direction. If drift returns months later, those notes show whether it is the same worn module or a new problem.
Keeping the Next Drift Away Longer
Clean hands matter more than most gear advice. Oils and food residue transfer to the stick caps and work downward over time. Store the controller in a case, a drawer, or a closed box rather than on an open shelf where dust settles daily. A traveling controller belongs in a case, not loose among cables and crumbs.
Heat is the quieter enemy. A controller left on a sunny windowsill or in a hot car ages faster, as heat weakens springs and dries its lubricant. Gentle handling helps too. Sticks wear fastest under hard slams against the edge and sharp clicks repeated thousands of times. No habit makes a controller last forever. These stretch the healthy years, and they cost nothing.
Work the ladder in order and most drift ends at the first or second rung. Open the shell only when the warranty is gone and cleaning has honestly failed, and treat a worn module as a part to replace rather than a controller to discard. The ghost movement has a mechanical cause, and mechanical causes can be found, cleaned, and, when needed, swapped out.