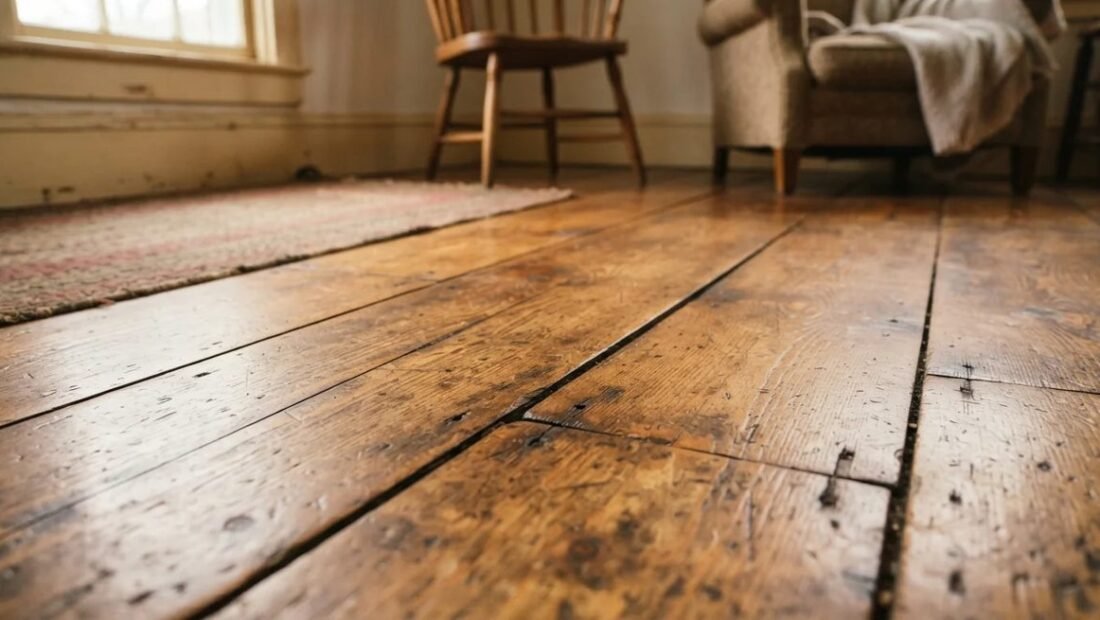
Our hallway squeaked in exactly the spot you step on during midnight trips to the kitchen, a loud announcement to the entire house that someone was awake. I fixed it in twenty minutes with a $15 kit, and the silence was so complete it felt like a different house.
How to fix squeaky hardwood floors depends on one thing: whether you can access the floor from below. Both cases are fixable; the methods just differ.
How Can I Fix Squeaky Hardwood Floors?
First, understand the squeak. It is almost always wood rubbing against wood or against a nail: the subfloor flexing against a joist, a board rubbing a loose nail, or two boards moving against each other. The fix in every case is the same principle: stop the movement. Lubrication quiets it temporarily; mechanical fastening silences it permanently.
If you have basement or crawl space access, you have the easy version. How can I fix squeaky hardwood floors from below? Have someone walk upstairs while you watch from below to pinpoint the exact spot. Then either drive shims coated in wood glue into gaps between the joist and subfloor, or install metal bridge bracing between joists to stiffen the area. For subfloor-to-joist squeaks, driving a screw up through the subfloor into the flooring (careful with length) or using a dedicated squeak-elimination bracket locks the layers together silently.
- Find the exact spot first. Have someone walk while you listen. Mark squeaks with painter’s tape. Precision matters.
- From below: shim the gaps. Glue-coated shims between joist and subfloor. Cheap, fast, permanent.
- From below: add bridging. Metal cross-bracing between joists stiffens bouncy areas.
- From above: breakaway screws. Squeak-repair kits ($15-$25) drive scored screws that snap below the surface. Fill the tiny hole.
- From above: nail into the joist. Locate joists with a stud finder, drill pilot holes, drive finish nails at an angle, set and fill.
- Try powdered graphite for minor squeaks. Work it into the seams. A temporary quieting for boards rubbing each other.
- Talcum powder between boards. Old-school trick for board-on-board squeaks. Messy but sometimes effective.
- Screw the subfloor during renovations. If floors are ever up, screw (do not just nail) the subfloor to joists. Prevention beats cure.
From above, the breakaway screw kits are the homeowner’s best friend. You locate the joist with a stud finder, use the kit’s jig to drive a scored screw through the floor into the joist, and the screw head snaps off below the surface, leaving a tiny hole you fill with wood filler. Three screws in a triangle pattern silence most squeaks permanently. The kits cost $15 to $25 and work on hardwood and carpeted floors (with a longer screw attachment for carpet).
Squeaks You Should Not Ignore
Most squeaks are annoyances, but some signal real problems. Investigate further if: the floor feels bouncy or spongy (possible joist or subfloor damage), squeaks appeared suddenly across a wide area (could indicate moisture or foundation movement), or you see water stains nearby (leaks rot subfloors). These need a professional assessment, not a screw kit. Also, widespread squeaking in a new home may be a builder warranty issue; check before you start fixing it yourself.
Seasonal squeaks are normal and not worth chasing. Wood expands and contracts with humidity; a floor that squeaks in dry January and silences itself in humid July is just being wood. Run a humidifier in winter and many seasonal squeaks vanish.
Quick Answers to Common Questions
What causes squeaky hardwood floors?
Wood movement: subfloor rubbing against joists, boards rubbing nails, or boards rubbing each other. Gaps develop as wood dries and fasteners loosen over time.
Can I fix squeaks without damaging the floor?
Yes. From below with shims, or from above with breakaway screw kits that leave only a tiny fillable hole. Both methods are effectively invisible when done carefully.
Does WD-40 fix squeaky floors?
Temporarily, maybe, but it is not a real fix and can stain finishes. Mechanical fastening (screws, shims) is the permanent solution. Lubricants are a band-aid.
Why do floors squeak more in winter?
Dry winter air shrinks wood, widening gaps between boards and subfloor. A humidifier maintaining 35-45% humidity often quiets seasonal squeaks.
My Squeak-Fixing Checklist
- Pinpoint each squeak. Walker above, listener below. Mark with tape.
- Access from below if possible. Shims and bracing are invisible and permanent.
- Use breakaway screw kits from above. $15-$25, tiny holes, permanent fix.
- Check humidity. Seasonal squeaks often yield to a humidifier.
- Investigate bouncy or widespread squeaks. Spongy floors signal structural issues, not annoyances.
What I Would Do Next
The hallway is silent now, and I still notice it every time I walk through at night, the absence of the squeak is its own small pleasure. Twenty minutes, fifteen dollars, and one of the most satisfying repairs in the house. Some fixes improve the home; this one improved the silence.
How to fix squeaky hardwood floors: stop the movement. Shim from below, breakaway screws from above, and check humidity for seasonal cases. Most squeaks die in under half an hour.
Find the spot, fasten it, enjoy the quiet. Your midnight self will absolutely thank you.
One more technique for carpeted stairs or upper floors: the counter-snap screw method works through carpet too, using a special fixture that drives the screw and snaps it below the pile. And if you are ever replacing carpet over a squeaky subfloor, take the golden opportunity to screw the subfloor to every joist before the new carpet goes down. It is ten minutes of work during a renovation that prevents decades of squeaks.
Related reading: What Is the Cheapest Way to Update an Old Kitchen.
Related reading: How Do I Avoid Baggage Fees on Budget Airlines.
Related reading: How Can I Make Iced Coffee Taste Like a Coffee Shop.
For official guidance, check out the Department of Energy home efficiency guides and This Old House how-to articles.