She has drawn blood over nail trims before. Not a nip — a fast, serious scratch up the forearm the last time her owner tried to hold a paw and reach for the clippers in the same motion. That was a month ago. Since then the trim has been put off, the tips have grown sharp again, and every kneading session on the couch leaves tiny pulls in the fabric. The owner dreads the next attempt. The cat, an indoor cat who spends her days on carpet, tile, and a Texas leather sofa, has learned that paw handling means a fight is coming.
This is how that pair gets through it without a fight: not in one brave session, but across five days of small, treat-paid steps, ending in a trim that lasts under five minutes. The burrito wrap stays folded in reserve. The styptic powder sits open on the table, just in case. Most cats do not need force. They need the steps broken small enough that each one ends before fear starts.
Day One and Two: Hands Mean Treats, Nothing Else
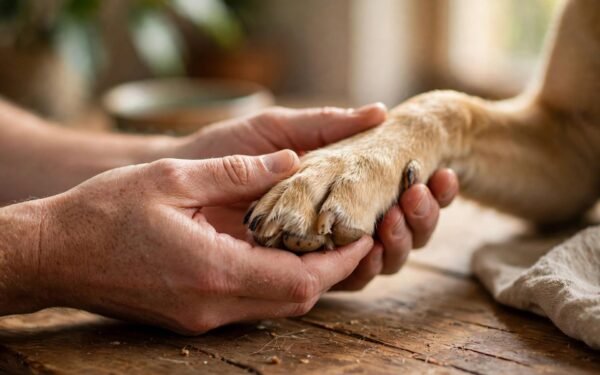
The work starts when the cat is already relaxed — drowsy after a meal, settled in a favorite spot in the late afternoon. No clippers in sight. The owner sits nearby and touches one paw lightly, then offers a high-value treat. The stinkiest treat in the house is the right one here. Lickable tube treats work especially well because the cat stays focused on licking while a hand is near the feet.
Each paw gets a brief, gentle touch and a massage if the cat allows it. Stop while the cat is still calm. One paw today is a win; four paws with growing tension is a loss, because the cat files the session under threat. Repeat for two days, a few short rounds a day. The cat learns the pattern: paw touch, treat, done. Prediction lowers fear. Surprise is what caused the blood last time.
Watch the body while you work. Ears flat, tail lashing, skin rippling along the back, a low growl, or a hard stare at your hand all mean stop now and try again later. A slow blink, a loose tail, and a cat who stays in place for the treat mean you can do one more touch. Never chase a cat who leaves. Let leaving be free, or the cat will start leaving earlier each day.
Day Three and Four: Press, Extend, Release
Now the touch gains a purpose the cat does not need to know yet. With the cat settled, press the top of the paw pad very gently so one claw slides out, hold it for a second, release, and treat at once. Do a few claws in a session, not every claw. The point is that extension itself becomes boring.
This is a good moment to learn what you are avoiding. Each claw has a pink inner core called the quick — living tissue with blood vessels and nerves — wrapped in a translucent sheath. On pale nails the quick shows as a pink triangle. On dark nails you cannot see it well, which is why the trim later takes thin slices. Cutting the quick hurts and bleeds, and a cat remembers it clearly. Every choice in the trim protects that core.
By day four, most cats who have been paid in treats at each step will let a claw extend without pulling away. If yours will not — if paw touching still triggers biting that breaks skin — slow the timeline to weeks, not days, and keep each session to a single touch. A cat with a long history of painful handling needs more evidence that this time is different. Rushing to meet a five-day plan helps no one. The plan bends to the cat.
Grooming care is easier on calm, predictable handling — the same principle that governs bath schedules for dogs, covered in how often to bathe a dog in Texas without dry skin.
Day Five: The Clippers Appear, and One Claw Gets Trimmed
Lay out the gear before the cat arrives, in good light where you can see the quick clearly. You need cat nail clippers — scissor-style gives beginners the clearest view, and guillotine-style also works if you are used to it. Do not use human nail clippers. They tend to crush rather than slice cleanly, which can split the claw. You also need styptic powder or a styptic pencil within arm’s reach, the treats, and a towel folded nearby in case the wrap becomes necessary.
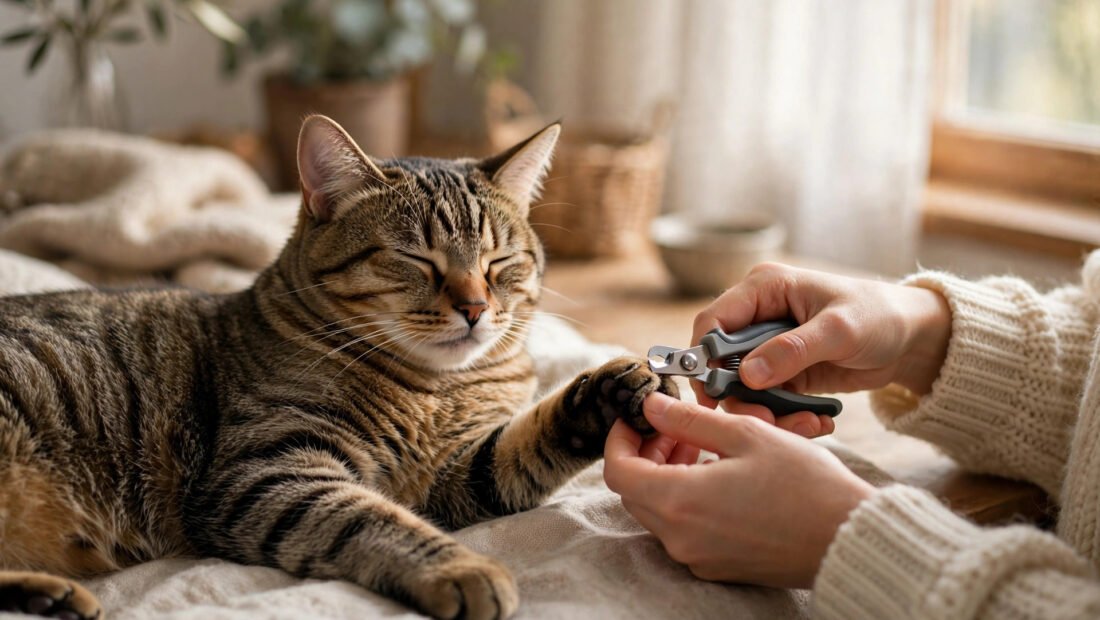
Let the cat sniff the closed clippers. Touch a claw lightly with them. Treat. Then trim one nail. Just one. Cut at about 45 degrees and take only the sharp tip — roughly 1 to 2 millimeters on most cats. Give the big treat. End the session. A single calm claw on day five is worth more than eighteen claws taken by force, because tomorrow the cat will walk into the session expecting a treat instead of a trap.
Indoor cats need this care regularly. Outside, rough ground wears tips down. Inside, nails grow into curved points that snag on fabric — a snag can tear a nail, which bleeds heavily and hurts — and older nails can curl toward the pad if they are ignored for months. Aim to trim every two to four weeks. Clicking on hard floors is the audible cue that the time has come. Front claws usually grow faster than back claws, and the dewclaws, the small claws higher on the front legs, are easy to miss and the most likely to overgrow, so check them every session.
The First Full Trim, One Paw at a Time
When one-claw sessions feel routine, extend the work to one paw per session. There is no rule that all eighteen claws happen at once. Two paws today and two tomorrow is a complete trim, spread across days the cat can accept.
Pick the moment with care. A sleepy, post-meal cat is the best candidate. Never start during wild play, right after a vet visit, or when visitors have just left and the house still feels unsettled. Seat the cat in your lap facing away from you, or on a table with your body as a soft barrier at one side. Do not pin the cat down and do not scruff. Hard restraint raises panic, and panic is when teeth and claws come out.
For each claw, press the pad gently, let the claw extend, and trim the tip at 45 degrees. On dark nails, shave thin slices and look at the cut face after each slice. When a grayish or pinkish oval starts to show in the center of the cross-section, you are close to the quick. Stop there, even if the tip still looks a little long. A slightly long nail is a non-event. A cut quick undoes weeks of trust work.
Keep the whole session under five minutes. Talk in a low, steady voice. Treat after each paw, not only at the end, so the cat is paid throughout. If the cat pulls one paw back firmly twice in a row, that paw is done for today. Finishing on your terms once is fine. Finishing on the cat’s terms every time is what keeps the routine possible month after month.
Scratching posts help between trims but do not replace them. A sisal post lets a cat shed the outer sheath; it will not shorten an overgrown tip. Keep one near where the cat sleeps, since many cats scratch right after waking.
If Cooperation Collapses: The Wrap, Held in Reserve
Some days the plan fails. The cat who accepted day four wakes up on trim day in no mood at all. That is when the towel comes out — not as punishment, but as a snug wrap that limits flailing and, for many cats, actually settles them, much like a firm anxiety wrap.
Lay the towel flat, set the cat in the middle, and wrap firmly but not tightly, leaving one paw free at a time. Work quickly and quietly, one paw, then re-wrap for the next. Keep the wrapped session under five minutes total. If the cat pants, growls without pause, or thrashes hard against the wrap, stop entirely. A cat at that level of stress is telling you the session will cost more trust than the trim is worth. Close the clippers, offer a treat anyway, and try again tomorrow with a shorter goal — two or three nails, then done.
For broader care basics, the ASPCA’s cat care guidance is a reliable reference to keep bookmarked.
If You Cut the Quick
It happens, even with care, most often on a dark nail or a cat who jerks at the wrong second. Stay calm, because the cat takes cues from your reaction. Press styptic powder onto the tip with gentle pressure for about 10 to 15 seconds. The bleeding normally stops fast. Cornstarch can stand in if styptic powder is not in the house, though it works a bit more slowly.
Treat immediately after. You want the strongest memory of that minute to be the treat, not the sting. End work on that paw, and usually end the session. Pick up again another day, one claw, big treat, the way day five went. If bleeding has not stopped within 10 minutes despite pressure and powder, call your vet. That outcome is rare, but it is the line where home care hands off to professional care.
When to Hand the Job to Someone Else
Two honest alternatives deserve mention. Soft vinyl nail caps, glued over the trimmed claws, last about four to six weeks and protect furniture well. They do not replace trimming — nails keep growing under them and caps need checking — and some cats chew them off, but for a household in a furniture emergency they buy time. And professional trims at a vet clinic or groomer commonly run $10 to $20. If your cat bites hard enough to break skin, professional trimming is the smart choice, not a defeat. Cat bites infect easily and can need medical care, so a recurring biting problem during trims is a safety issue, not a training failure.
A month later, that cat is not purring through her trims. She is doing something more believable: she hops up for the treat, tolerates a paw, gets her tips taken in small slices, and leaves with her owner’s forearms intact. That is success with a cat — a short, calm routine neither of you dreads.