
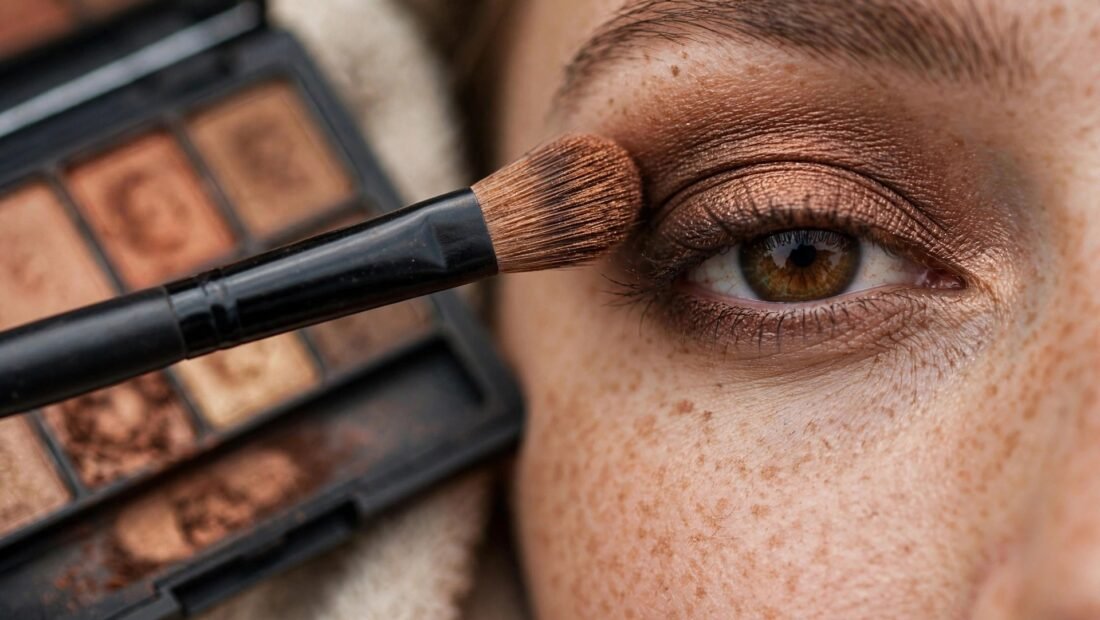
Most beginner smoky eyes fail before the darkest shade is even opened. There is no primer on the lid, so the color slides and creases. There is no transition shade in the crease, so the dark color has nothing to melt into. And the edges stop in a hard line, which makes the whole eye look stamped on rather than smoked out. None of those faults needs talent to fix. They need order: prime first, build the soft shade second, add darkness third, and blend longer than feels necessary. With that order, a first attempt usually looks wearable instead of alarming.
The kit can stay small and cheap. A full set of supplies can stay under $30 at a drugstore: an eyeshadow primer, three shades (a medium matte for the crease, a dark matte for the outer lid, and a light shimmer for the inner corner), one fluffy blending brush, one smaller flat brush for packing color on, a dark brown pencil liner, and mascara. Black is a poor learning color because every error shows. Brown, charcoal, deep plum, or bronze gives the same smoky effect with far more forgiveness. The five steps below use brown as the teaching shade.
Step 1: Prime the Whole Lid and Let It Set
Apply a thin, even layer of eyeshadow primer from the lash line to the brow bone. Thin matters. A thick layer can turn gummy and make shadow harder to blend. Let the primer set for about 30 seconds before any color goes on. That short wait lets it grip rather than mix.
Primer is the single step that prevents most beginner failure. Without it, shadow creases into the fold of the lid, fades in patches, and can look gone by midday. With it, the same cheap shadows wear evenly for hours. For very oily lids, a whisper of translucent powder over the set primer adds oil control before the first shade. Skip powder if lids are dry, since it can make blending drag.
Do the eyes before foundation. Fallout, the fine dust of shadow that lands on the cheeks, is normal while learning. On bare skin it wipes away in seconds. On finished foundation it smears and forces repair work that takes far longer than the eye itself.
Step 2: Lay the Transition Shade Through the Crease
Pick up the medium matte shade with the fluffy blending brush and tap off the excess. Too much product on the first pass is the second most common beginner error, right behind skipping primer. Sweep the shade back and forth through the crease, the hollow where the eye socket meets the brow bone, using a motion like a windshield wiper. Keep the strokes light and keep the brush moving.
This shade is the foundation of the whole look. It creates the gradient that the dark shade will melt into, and it is what makes an eye read as smoky rather than simply dark. Blend until no hard edge remains, then blend a little more. Beginners almost always under-blend. Genuine over-blending at this stage is rare.
Eye shape changes the placement slightly. On hooded eyes, blend the transition shade a little above the natural crease, so the color still shows when the eyes are open. On deep-set eyes, keep the following dark shade lower, since color placed too high can vanish into the socket. Those two adjustments solve most complaints that a smoky eye disappeared or looked wrong on a particular face.
Step 3: Pat the Dark Shade Onto the Outer Lid
Switch to the flat brush. Pat the dark shade onto the outer third of the moving lid. Patting is deliberate: pressing the color on gives control and density, while sweeping drags it into places it was never meant to go. Build in thin layers. One light layer, a look in the mirror, then another light layer if the depth is not there yet. Adding color takes seconds. Removing too much dark shadow without starting over is close to impossible.
Keep the darkest area low and toward the outer corner. That placement lifts the eye visually and leaves the inner lid brighter, which keeps the look open rather than heavy. Close-set eyes benefit most from this discipline, since darkness near the inner corner pulls the eyes together. If the dark shade lands too high or too far inward, do not scrub at it. Move to the next step and soften the mistake with blending first; many placement errors shrink a great deal once the edges are blurred.
Step 4: Connect the Lower Lash Line and Soften Every Edge
Run a small amount of the dark shade, or the brown pencil, lightly along the outer half of the lower lash line. Then blend that line so it looks like a soft shadow rather than a stripe. This connection between the upper and lower eye is what gives the smoky effect its depth. Keep it to the outer half. Darkness under the whole lower lid can shrink the eye and add years.
Now clean the fluffy brush on a towel and return to the edge where the dark shade meets the transition shade. Work in small circles with light pressure until no visible line remains between the two colors. If a hard line survives, pick up a tiny amount of the transition shade and pass over the border once more. A clean brush, patience, and small circles fix almost every harsh edge. A stiff or dirty brush is the usual reason blending fails, which is why brush choice matters more than brush price. The wrong brush, packed tight and scratchy, drags color instead of diffusing it.
Common faults cluster at this stage. Too much dark shade too fast makes the eye harsh and the fix slow. Skipping blending leaves stripes. A hard stop at the outer corner looks unfinished. Each fault is prevented by the same habits: thin layers, a clean fluffy brush, and one more pass than instinct suggests.
Step 5: Highlight, Line, and Finish With Mascara
Pat the light shimmer shade into the inner corner of the eye. That small bright point opens the eye and balances the darkness at the outer side. Add only a touch under the brow bone. A heavy stripe of shimmer there looks dated and can fight the softness built in the earlier steps.
Line the upper lashes with the brown pencil, keeping the line close to the lashes, then smudge it gently so no sharp edge remains. Brown is softer and more forgiving than black liquid liner, which exposes every wobble. Finish with mascara, applied generously to the upper lashes and lightly below if wanted. Check both eyes together in normal light, not under a magnifying mirror, since tiny differences that glare at close range vanish at conversational distance.
Pairing the finished eye with the right lip keeps the balance. A strong eye usually wants a calmer lip, and a bold red lip usually wants a calmer eye. Readers planning the full look can work through how to find your perfect red lipstick shade and then decide which feature leads on a given day.
Making the Look Survive Texas Heat
Heat and humidity attack a smoky eye in three ways: oil breaks down the color, sweat moves the liner, and powder shadow fades faster. The heat version of the method answers each one. Primer stays non-negotiable and matters even more than usual. Long-wear and waterproof formulas earn their place, above all for mascara and liner at outdoor events. A cream shadow base under powder shadow can also grip far better in humid weather than powder alone.
Setting spray at the very end helps hold the whole face, eyes included. Hold the bottle at arm’s length and use a light mist rather than a soaking. Carry the pencil, not the full palette, for touch-ups. Most heat damage shows up as a softened lower line or a faded outer corner, and both fix in under a minute.
Order still protects the result. Eyes first, foundation second, means any fallout from a humid-day repair never ruins the base. Extra help on heat-proof technique is easy to find in sources such as Allure’s eyeshadow and smoky eye tutorials, which cover the same basics of priming, layering, and blending for different eye shapes.
Variations to Try Once the Basic Method Feels Easy
The brown smoky eye is the training version, not the only version. A one-shade smoky is the gentlest next step: use a single medium-brown shade, pack it over the lid, and blend the edges out until the color fades into skin. It takes a few minutes, needs no precision, and suits mornings when time is short.
A brown smoky softened further makes a proper daytime look. Use lighter pressure, stop the dark shade earlier, and keep the lower lash line very light. Daytime wear is completely fine on those terms; a soft, well-blended neutral eye reads polished rather than dramatic. For more depth, swap the dark brown for bronze, deep plum, navy, or forest green while keeping the same five steps in the same order. Plum flatters green and hazel eyes in particular, and navy gives a cooler mood than brown without the harshness of black.
Black belongs last. Once blending is steady with brown and charcoal, black stops being frightening and becomes just another dark shade, one that still punishes skipped primer and lazy edges faster than any other. Work up to it rather than starting there, and the classic version of the look will hold together for an evening instead of collapsing by the second hour.