
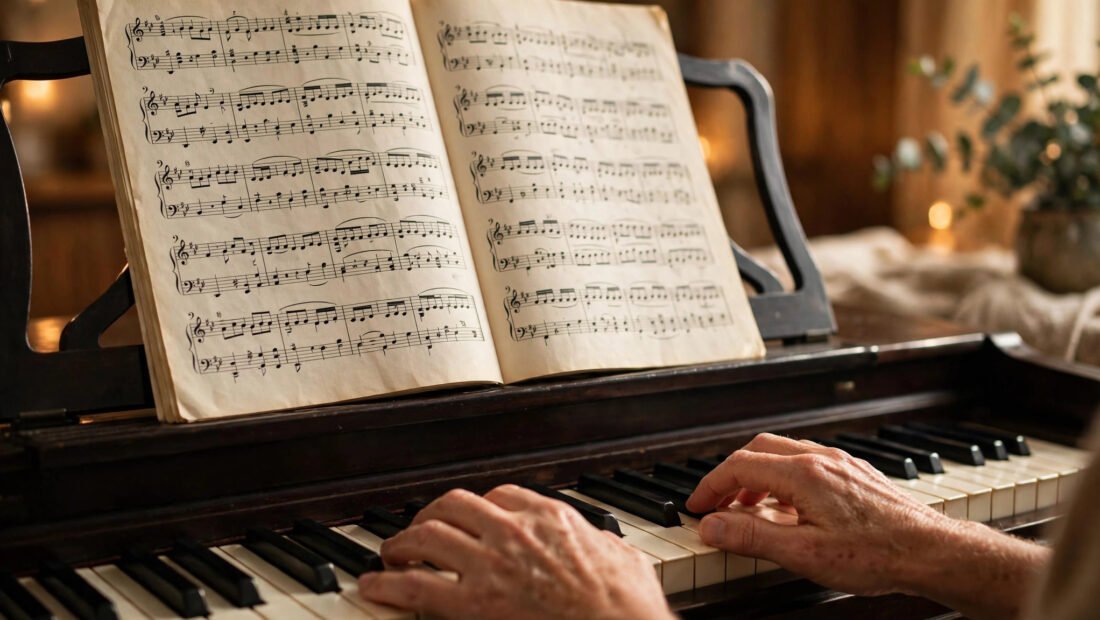
Five lines and four spaces look like a fence covered in ants for about two weeks. Then, almost suddenly, the fence starts spelling words you recognize. That shift is real, and it happens to nearly everyone who sticks with short daily practice. Reading music is not a talent you either have or lack. It is a code, and codes get easier each time you use them.
The learning process has a natural order. First you learn where notes sit. Then you learn how long they last. After that you add the small signs that change pitch and mood, and only then do you try to read a whole piece at speed. Skipping ahead is what makes the page look impossible. Work through the stages in order, and each one stays small.
Stage One, Weeks One and Two: The Staff and the Two Clefs
Every piece of sheet music sits on a staff: five horizontal lines with four spaces between them. Higher on the staff means a higher sound, lower means a lower sound. That is the whole map. A symbol at the very start, called a clef, tells you which exact notes those lines and spaces stand for.
Most beginners start with the treble clef, the curling symbol that looks a bit like a fancy letter G. It covers the higher notes used by flute, violin, trumpet, guitar, and the right hand at the piano. In treble clef, the five lines from bottom to top spell E, G, B, D, F. A common memory aid is “Every Good Boy Deserves Fudge.” The four spaces spell F, A, C, E, which is easy because it spells the word FACE. Learn those nine spots first. They carry most simple melodies.
The bass clef covers lower notes: cello, trombone, bass guitar, and the left hand at the piano. Its lines spell G, B, D, F, A, and its spaces spell A, C, E, G. If you play piano, you will need both clefs, because piano music prints them together as a pair, right hand on top and left hand below. Everyone else can learn treble first and add bass later, once the first clef feels automatic. Trying to master both on day one doubles the work for no real gain.
Spend the first days just naming notes. Point at a note and say its letter out loud before you play it. Speed does not matter yet. Accuracy does. When the letter comes without counting up from the lowest line, you are ready to move on.
Stage Two, Weeks Two to Four: Notes Beyond the Lines
Music does not stay inside five lines, so short extra lines, called ledger lines, extend the staff up and down. Each ledger line adds room for more notes in the same steady pattern. The most useful landmark is middle C. On a piano it is the C nearest the middle of the keyboard, and on paper it sits on one small ledger line just below the treble staff and just above the bass staff. It links the two clefs together.
Learn a few landmark notes and work outward from them. Middle C is one. The G on the second line of the treble staff is another. Once you know the landmarks, read the notes around them by distance: one step up, one step down, or a skip of one note. Skilled readers do not name every single note. They see shapes and gaps, the way you read whole words instead of sounding out each letter. That pattern sense grows on its own if you keep feeding it simple pieces.
A warning belongs here. If you only ever play songs you already know by ear, your ear will do the work and your reading will stall. Mix in tunes you have never heard, even easy ones, so your eyes have to lead.
Stage Three, Month Two: Rhythm, the Other Half of the Page
Pitch tells you which note to play. Rhythm tells you when and for how long, and beginners who ignore it get stuck fast. Note shapes carry the timing. A whole note is an open oval with no stem and lasts four beats. A half note is an open oval with a stem and lasts two beats. A quarter note is a filled oval with a stem and lasts one beat. An eighth note is filled, with a stem and a flag or a beam joining it to a neighbour, and lasts half a beat.
Silence has symbols too. Rests match the note values, so a quarter rest is one beat of quiet, a half rest is two, and so on. Rests are part of the music, not gaps in it. Counting through them keeps the beat steady.
Near the start of the music, just after the clef, sit two numbers stacked like a fraction. That is the time signature. The top number says how many beats fit in each bar, the small sections divided by vertical lines. The bottom number says which kind of note counts as one beat. The most common signature is 4/4: four quarter-note beats per bar. You will also meet 3/4, the waltz pattern, and 2/4 often in beginner books.
Practise rhythm on its own. Clap a line of rhythm while counting out loud: one-and-two-and-three-and-four-and. It feels odd and it works. When a passage falls apart at the instrument, the problem is usually rhythm, not pitch, and clapping it away from the keys or strings fixes it faster than replaying the whole section. A free metronome app keeps your counting honest. Ten minutes of separate rhythm work saves hours of muddled practice.
Stage Four, Months Two and Three: Sharps, Flats, and Key Signatures
Three small signs adjust pitch by the smallest step, called a half step. A sharp raises a note by a half step. A flat lowers it by a half step. A natural sign cancels a sharp or flat that came before. When one of these signs appears mid-piece in front of a note, it applies to that note for the rest of that bar only.
The bigger idea is the key signature: the group of sharps or flats printed right after the clef at the start of every line. Those apply to the whole piece. They tell you which notes are altered throughout, and they point to the key, the set of notes the piece is built around. A piece with no sharps or flats is usually in C major or A minor. One sharp usually means G major. One flat usually means F major.
Start with pieces that have no sharps or flats, or just one. Add harder key signatures only when a new piece needs them. There is no prize for memorising all of them in advance. Learn the dozen most common symbols across this whole subject and you can decode about 90 percent of beginner-to-intermediate music. That dozen covers the main note values, rests, a few dynamics, and the common accidentals. The rest you can look up as they appear.
Stage Five, Months Three to Six: Putting Pitch and Rhythm Together
Now the two halves join. Before playing a new piece, scan it in a set order. Name the clef. Check the key signature. Read the time signature. Look at the first bar and the last bar. Then play, slowly, reading left to right.
Choose first pieces where you already know how the tune should sound: Ode to Joy, Twinkle Twinkle Little Star, simple folk songs. Your ear then checks your reading. If what you play sounds wrong against the tune in your head, you know a note or a rhythm went astray. Pianists should practise each hand alone before putting them together. Everyone should play at a speed where no mistakes happen, then nudge the speed up a little at a time. Fast and wrong trains the wrong movements. Slow and right builds the skill you actually want.
Twenty minutes a day beats two hours once a week. Set a small daily routine: five minutes naming notes or tapping rhythms, ten minutes on a current piece, five minutes replaying an older piece you like. Pairing ten minutes of app or flashcard drills with real pieces works well, and MusicTheory.net’s free lessons and exercises give you structured drills for note names, intervals, and rhythm at no cost.
Stage Six, Month Six Onward: Dynamics, Tempo, and Expression
Once the notes flow, a second layer of marks tells you how to play them. Dynamics control volume. The letter p means piano, or soft. The letter f means forte, or loud. Letters can double up: pp is very soft, ff is very loud, and mp and mf sit in the middle. Long hairpin shapes that open or close mean get gradually louder or quieter.
Tempo words, mostly Italian, set the speed and feel. Allegro is fast and bright. Andante is a walking pace. Adagio is slow. Moderato sits in between. Articulation marks shape each note: a dot above a note means play it short and detached, called staccato, while a curved line over a group of notes, a slur, means play them smooth and joined. None of these marks is hard alone. Together they turn correct notes into actual music, and they are the reason two players can play the same page and sound completely different.
Stage Seven, Year One to Year Two: Real Sight-Reading
Sight-reading means playing a piece you have never seen, at a steady pace, without stopping to fix errors. It is the last stage, not the first, and it usually arrives somewhere between one and two years of regular practice. The habits that build it are simple. Read something new and easy every day, well below your top level. Keep your eyes moving ahead of your hands instead of staring at the note you are playing. If you miss a note, keep the beat and carry on. Stopping breaks the skill you are training.
Set honest expectations for the whole journey. Simple melodies usually come within two to four weeks of consistent practice. Comfortable beginner pieces take about three to six months. True fluency takes one to two years. That sounds long until you compare it with a language. And reading is not the only way to make music. Playing by ear is a real and valuable skill. Reading simply unlocks music you have never heard, lets you learn pieces faster, and lets you play with other musicians from the same page. Many people who start an instrument while learning to read also start wondering about costs, so it helps to know how much a violin costs at each level before buying more than a beginner needs. Keep the daily twenty minutes going, and the fence of lines will keep turning into words.




2 Comments