Picture yourself gripping the shallow-end rail in week one, certain everyone in the pool is watching. By week eight, picture the same spot: you push off that same wall and swim a slow, steady length, breathing on every third stroke, annoyed only that the lane ends so soon. The path between those two pictures is shorter than most adults fear, and it is built from small, plain steps taken in water where you can always stand up.
Follow that eight-week path as it usually unfolds. The details below use a typical adult beginner in Texas taking two lessons a week, but the order stays the same almost everywhere: comfort first, floating second, movement third, strokes last.
Before Week One: The Reasonable Fears
Start with the honest starting point. You never had childhood lessons, or you had a few and they did not stick. You are not sure where your body sits in the water. You worry about looking clumsy in a swimsuit in front of strangers. All of that is normal, and none of it marks you out. Adult group lessons are full of beginners in their thirties, forties, and fifties who share the exact same list. Instructors who teach adults expect it.
The embarrassment fades faster than expected, usually by the second session, because everyone is busy managing their own breathing and nobody has spare attention for judging anyone else. The practical move before week one is simple. Buy goggles that seal. Try them at home, adjust the strap, and check that they stay put when you shake your head. A cap helps if you have long hair, but nothing else is required. No expensive kit, no special suit, no float belt. Show up with goggles, a towel, and a water bottle.
Choose where you will learn. In Texas, the main routes are a YMCA or city recreation centre, which run structured adult beginner sessions at modest cost, a Red Cross-affiliated programme, or a university or community pool with adult classes. Pick the one you will actually attend twice a week. A slightly plain pool ten minutes away beats a beautiful one across town that you skip when traffic is bad.
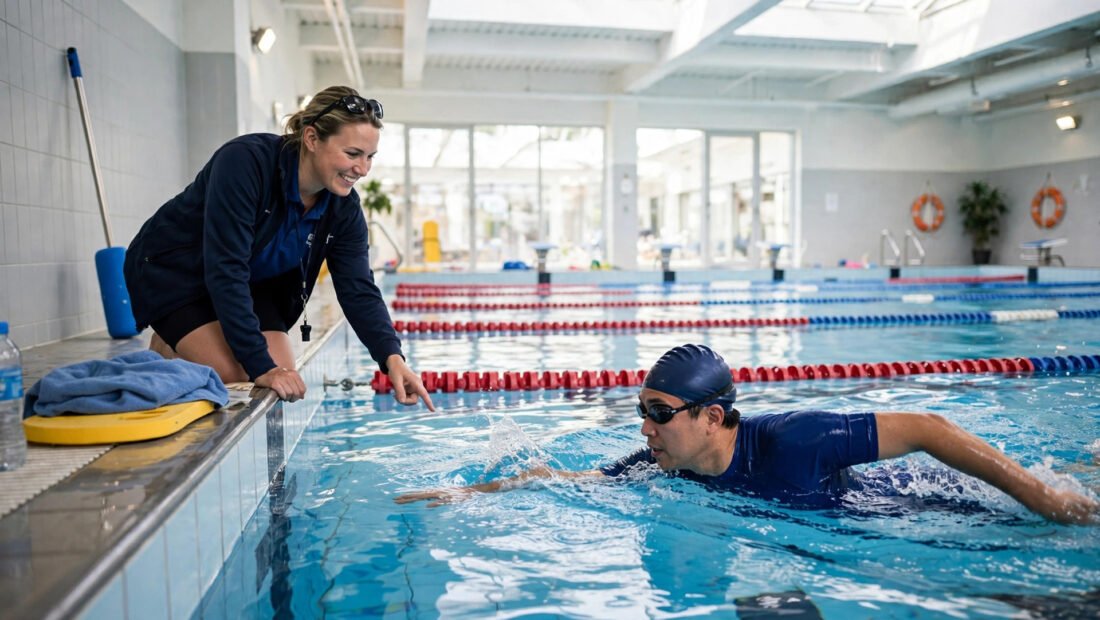
Tell the instructor on day one exactly where you are starting from, including any fear. That short conversation changes the pacing in your favour. Instructors adjust drills for nervous beginners every week, holding a float a little longer, keeping a hand closer during a glide, choosing the lane nearest the wall. Hiding the fear and hoping nobody notices only makes the first hard drill harder. Naming it gets you the version of the lesson built for you.
Week One: Standing, Splashing, and Breathing Out
Your first session never leaves the shallow end. You walk up and down the lane, feeling how water pushes against your legs and chest. You hold the wall, splash water on your face, then lower your chin, then your mouth, then your whole face for a second or two. It sounds trivial. It is not. Getting used to water on the face is the foundation everything else sits on.
The key skill of week one is blowing bubbles. Hold the edge, put your face in, and breathe out slowly through your mouth and nose so a stream of bubbles rises. Lift your head, breathe in, repeat. Ten calm repeats teach your body that water in the face is not an emergency. Most of the panic beginners feel comes from holding their breath and then gasping. Bubbles fix the pattern early: out underwater, in above it.
You also learn the safety rule that never changes. Stay where you can stand, and never practise alone. A qualified instructor or a lifeguard should always be present while you are learning, and a friend on the pool deck is the minimum for practice sessions between lessons.
Weeks Two and Three: Floating and Standing Back Up
Week two introduces the back float. You lean back, ears in the water, eyes looking up, arms out, lungs full. A full breath makes floating much easier, because your chest acts like a float. The instructor may support your head or back at first, then less each time. The first time you float unsupported for ten seconds, the fear drops sharply. The water holds you. You do not have to fight it.
The front float follows: face down, arms forward, body stretched out like a plank. Then comes the skill that matters most for confidence, standing back up. From a front float, you tuck your knees toward your chest, plant your feet on the floor, and lift your head last. Practise it until it is dull. Knowing you can always get your feet under you removes the fear of being stuck face-down, which is the fear that stops most adults.
By the end of week three, the fear protocol is working without you noticing. Each session has added one small step. Face in for three seconds became ten. A supported float became a solo one. Nothing was rushed, and nothing depended on bravery. That is the design: progress one small step per session, in water you can stand in, and let the evidence pile up.
Weeks Four and Five: Gliding and Kicking
Now movement begins. You push off the wall in a tight, stretched shape and glide: arms together overhead, face down, body straight, until you slow to a stop. A good glide teaches the body position every stroke needs. Head down, hips up, legs near the surface. Beginners who lift their head to breathe mid-glide feel their hips sink and their legs drag, like swimming uphill. Head down fixes it at once.
Kicking comes next, usually with a board. Hold the board out front, kick from the hips with loose ankles and small, quick kicks, toes pointed. Big, splashy kicks from the knees waste energy and barely move you. Short flutter kicks move you steadily down the lane. You will be slow and a little breathless. That is expected. Legs use a lot of oxygen, and fitness is not a requirement for starting. Swimming builds the fitness as you go, burning roughly 400 to 600 calories an hour once you are moving continuously, while the water carries most of your weight off your joints. That low load is why swimming often appears alongside the best low-impact exercises for bad knees for people whose joints rule out running.
Weeks Six and Seven: Arms, Breathing, and a First Full Stroke
Front crawl comes together in pieces. First the arm action while standing or walking in the shallow end: one arm reaches forward, pulls back through the water, and recovers over the top while the other arm takes its turn. Then the same action added to your glide and kick. Then the part adults find hardest: breathing.
The pattern is steady. You breathe out into the water while your face is down, then roll your head to the side, just enough for your mouth to clear the surface, as one arm recovers. You breathe in, turn your face back down, and breathe out again. Turning the whole head up to the front breaks the body position and sinks the legs, so the side roll matters. Expect to swallow a little water in week six. Everyone does. Stand up, cough, reset, go again.
Back floating returns here as a rest skill. When you tire mid-length, you roll onto your back, float, breathe freely with your face out of the water, and recover. Knowing you have a resting position turns a full length from a gamble into a plan.
Practice sessions between lessons help, but keep them modest. Twenty or thirty minutes repeating the drills you already know is enough. Do not try to teach yourself the next stage from videos in the deep end. New skills belong in lessons, with an instructor watching. Practice is for making the known skills boring, and boring is good: a boring float, a boring glide, and a boring stand-up are exactly what calm swimming is made of.
Week Eight: The First Lengths and What Comes Next
In week eight you swim your first full lengths, slowly, with rests at each end. The stroke is not pretty and does not need to be. It is continuous, you breathe in rhythm, and you arrive at the wall in control. That is swimming. From here the work is practice: two or three sessions a week, gradually fewer rests, gradually better timing. Comfortable, efficient swimming typically takes four to six months of regular practice, and lessons with a qualified instructor compress that timeline because small faults get corrected before they harden into habits.
Texas adds two safety lessons that stay with you after lessons end. First, a pool is controlled water; rivers and lakes are not. Currents in Texas rivers can be stronger than they look, lake entries slope and drop without warning, and you should never swim alone in open water. Second, summer heat changes the session itself. Drink water before and after swimming, because you sweat in a pool without noticing, and get out if you feel dizzy or chilled. For structured lessons and broader water safety habits, the American Red Cross’s swim lessons and water safety guidance is a solid place to check what is offered near you.
Look back at the rail you gripped in week one. Nothing about the eight weeks required talent, youth, or fitness you did not have. It required shallow water, goggles that seal, an instructor’s pacing, and one small step at a time. The adult at the wall in week eight is the same person. The only difference is eight weeks of evidence that the water holds you up.