
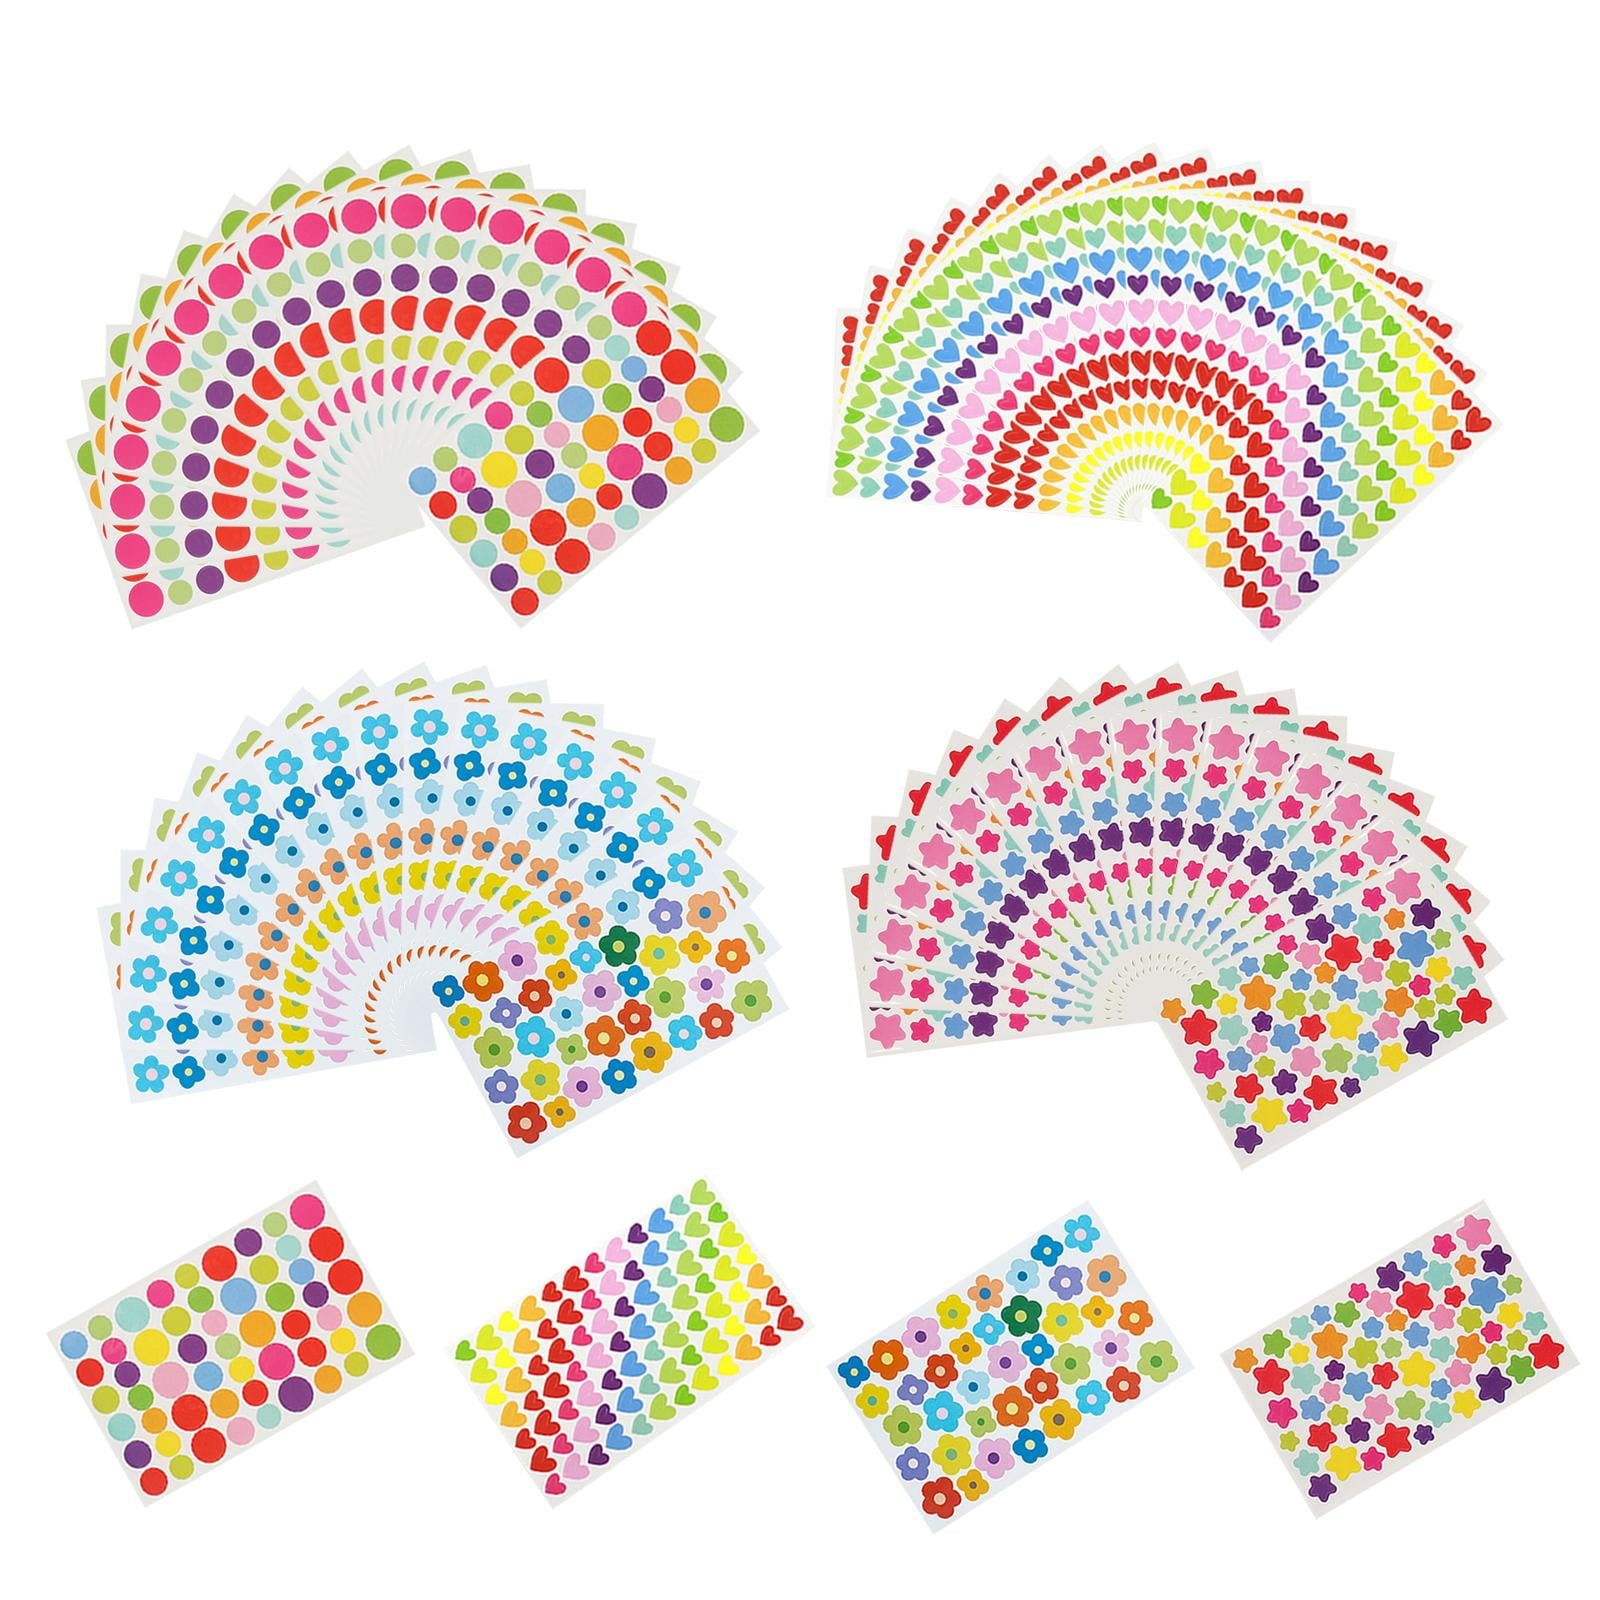
A sheet of sticker paper costs about a dollar. Most of that dollar gets wasted on the same four mistakes: the sheet goes in wrong side up, the printer stays on the wrong setting, no test page runs first, and an inkjet print gets handled or used with no seal. Add a fifth, cutting before the ink has dried, and a full sheet of good designs turns into smears, pale colors, and stickers that fail within days. None of these errors needs talent to fix. Each one has a plain cause and a plain prevention.
Mistake 1: Printing on the wrong side of the sheet
Sticker paper has one printable side and one backing side, and they can look deceptively similar in poor light. Print on the backing and the ink has nowhere to soak in. Colors pool, smear at a touch, and the sheet is ruined. Printers also differ in how they feed. Some want the printable side facing up, others facing down, and guessing wrong wastes the sheet just the same.
The fix is to check before the print, not after. Look at the paper packaging for which side takes ink, hold the sheet at an angle to spot the slightly rougher coated side, and check the loading diagram on the printer tray itself. Mark the rule for that printer somewhere visible. The same loading check is worth doing after any network or setup change, alongside basics such as how to connect a wireless printer to a new WiFi network, so the printer is reachable and loaded correctly before good paper goes in.
Mistake 2: Leaving the printer on plain-paper settings
A printer set to plain paper and normal quality lays down ink for cheap copy paper, which is the wrong amount, laid down the wrong way, for coated sticker stock. The result is the classic washed-out print that looks nothing like the screen: pale blacks, dull reds, banding across large color areas. Beginners often blame the paper or the printer when the setting was the whole problem.
The fix lives in the print dialog. Set the paper type to match the stock in the tray, such as labels or matte photo paper, and set quality to best. Confirm the paper size is Letter, 8.5 by 11 inches, and turn off any fit-to-page scaling that shrinks the designs. Those three choices take under a minute and change the print more than any design tweak will.
Mistake 3: Skipping the test page
Sticker sheets feel too precious to waste, so beginners go straight to the real sheet to save paper, and then waste the real sheet on a problem a test would have caught for pennies. Margins clip a row of designs. A color prints far darker than expected. One design sits slightly off the sheet. All of it shows up first on plain paper, if plain paper gets the chance.
The fix never changes: always print one test page on plain paper first. Hold it up, check the edges, check the colors, and check the size against a ruler if the stickers need to fit a jar, a planner box, or a laptop spot. Adjust once, test again if the change was large, and only then load sticker paper. One wasted sheet of copy paper beats a wasted sheet of sticker paper every time.
Mistake 4: Using unsealed inkjet prints where water lives
Inkjet ink is not waterproof. An unsealed inkjet sticker on a water bottle, a cooler, or anything handled with wet hands will run and fade fast. Even indoor stickers suffer, since a spilled drink or a damp cleaning wipe can blur an unprotected print. Laser prints avoid most of this, because toner is fused plastic rather than liquid dye, but inkjet users need the extra step.
The fix is a clear acrylic spray seal. Krylon and Rust-Oleum both sell suitable cans for about $8 to $12. Spray outside or in a ventilated spot, use two light coats rather than one heavy coat, and let the sheet cure fully between coats and before any cutting. A heavy coat can wrinkle the paper and dull the colors it was meant to protect. Light coats keep colors bright and add real moisture resistance.
Mistake 5: Cutting before the print has dried and cured
Fresh inkjet prints smear at a fingerprint’s touch. Cutting right away drags damp edges, leaves inky marks on pale borders, and can push still-soft sealant around with scissor blades. The stickers may look fine on the sheet and then carry smudged edges forever.
The fix is patience in order. Let inkjet prints dry untouched for at least several minutes, longer in humid rooms. If sealing, let the final coat cure as the can directs before cutting. Then cut with the tool that fits the shape: scissors for simple circles and squares and small batches, a craft knife with a ruler and mat for straight precise edges, and a craft cutter for intricate shapes or repeated runs. Rounding square corners slightly also helps later, since sharp corners catch first and start peeling.
The correct process, in order
With the waste points named, the clean process is short. Start by confirming the printer type. Inkjet printers use liquid ink and give rich, vibrant color, but need inkjet-matched paper and sealing for durability. Laser printers use toner fused by heat, giving sharp and naturally water-resistant prints, but they require laser-matched paper. Heat inside a laser printer can melt an inkjet-coated sheet and damage the printer, so matching paper to printer type is a safety rule, not a preference.
Next, choose the paper for the job. Matte sticker paper gives a flat, non-reflective finish that suits labels and planners and can be written on. Glossy paper gives a bright, photo-like finish for colorful decorative designs. Vinyl paper is thicker, more durable, and water-resistant, making it the right pick for bottles, laptops, and outdoor use. A 20-pack of quality printable sticker paper runs $10 to $18, which is why each sheet lands near a dollar. Options across Avery’s printable sticker and label paper range cover all three finishes, and buying a small pack first is wise, since quality varies a lot between brands.
Then design with cutting and color in mind. Leave 1/4 inch of space between designs so scissors or a blade have room to work. Keep a margin at the page edges, since most home printers cannot print to the very edge. Expect a color shift as well. Screens show RGB light and printers lay down CMYK ink and toner, so colors print slightly differently, often a touch darker or less neon. The test page shows the real shift before it costs anything.
Then print in the safe order. Run the plain-paper test. Load one sheet of sticker paper at a time, since thick stock fed in a stack invites jams. Confirm the printable side faces the right way for that printer. Send the print with the label or photo paper setting and best quality already chosen. Let the sheet rest untouched while it dries.
Then seal if the printer is an inkjet and the stickers will see moisture, hands, or sunlight. Then cut. Then apply the finished stickers to a clean, dry, smooth surface. Wipe the spot with rubbing alcohol, let it dry fully, peel from a corner, lay one edge down first, and smooth outward to push out air. Dust, oil, texture, and moisture under the sticker cause most sticking failures, not weak adhesive.
Storage between printing and use matters more than most beginners expect. Keep finished sheets flat, away from direct sun and damp shelves, and do not stack heavy books on top of them while sealant is still curing. Sunlight fades inkjet color over time, and heat in a parked car can soften adhesive and curl edges. A folder or a flat box keeps sheets clean and prevents the corners from bending, which also makes cutting neater later. For stickers meant to last outdoors, that cure time and flat storage are part of durability, not optional extras. Rushing a sealed sheet into a bag the same hour it was sprayed is a quiet way to undo careful printing work.
Troubleshooting and the home-versus-order call
Smearing almost always means one of three things: the paper and printer types do not match, the print was touched too soon, or the paper setting was wrong for the stock. Faded colors point back to normal quality mode or a plain-paper setting. Paper jams point to thick stock loaded in a stack or a sheet too heavy for the printer’s path, so feed one sheet at a time and check the weight limit in the manual. Colors that look wrong next to the screen point to the RGB-to-CMYK shift, corrected by adjusting the design after seeing a test print, not by reprinting blindly.
Cost decides the last question: print at home or order? Home printing wins for small batches, under roughly 50 to 100 stickers, where a $10 to $18 pack produces dozens of stickers with no shipping wait and full control over last-minute design changes. Ordering wins for hundreds of identical stickers, where a print shop’s per-sticker price drops and its outdoor durability beats most home setups. Many home printers start at the home end, learn the five mistakes on cheap test sheets, and only order in bulk once a design is proven. That order of operations protects both the dollar-a-sheet stock and the printer itself.


1 Comment