Our kitchen backsplash was 1990s laminate with a fruit border that haunted my peripheral vision for years. I installed a subway tile backsplash over one long weekend for $180, and it is the DIY project guests assume I hired out. Backsplashes are the ideal beginner tile project: small area, eye-level work, and mistakes hide behind the coffeemaker.
How to install a backsplash in your kitchen yourself, start to finish, with the order of operations that prevents the classic mistakes.
How Do I Install a Backsplash in My Kitchen Myself?
Prep determines everything. Turn off power to outlets, remove outlet covers (and extend the outlet boxes with box extenders so they sit flush with the new tile), clean the wall thoroughly (degrease; kitchen walls are greasy), and repair any damage. If the wall is painted drywall in good shape, you can tile directly on it. Find your starting point: the center of the focal area (usually behind the range) or the most visible line, and dry-lay the first row to plan cuts. A level ledger board screwed to the wall gives your first row a perfect, level starting line.
Set the tile with thinset mortar mixed to peanut-butter consistency, applied with a notched trowel. How do I install a backsplash in my kitchen myself without lippage? Work in small sections (the thinset skins over in 20-30 minutes), press tiles firmly with a slight twist, and use tile spacers consistently. Check level every few tiles; small drifts become big problems across a wall. Cut tiles with a wet saw (rent for $50/day) or a snap cutter for straight cuts on subway tile. Let the thinset cure 24 hours before grouting.
- Prep: clean, degrease, repair. Tile bonds to clean walls. Grease is the enemy.
- Plan layout from the focal point. Center behind the range. Dry-lay the first row.
- Ledger board for a level start. Screwed level line. Remove after setting.
- Thinset: peanut butter consistency. Notched trowel, small sections, press and twist.
- Spacers for consistent joints. 1/16 or 1/8 inch. Consistency is professionalism.
- Rent the wet saw. $50/day. Clean cuts, less waste, less frustration.
- Cure 24h before grouting. Patience. Grouting too early shifts tiles.
- Grout, then seal. Float grout diagonal, sponge clean, seal after curing.
Grouting is the satisfying finale with its own pitfalls. Mix grout to the right consistency, apply with a rubber float at a diagonal angle forcing it into joints, and sponge off excess with a damp (not wet) sponge, rinsing frequently. Haze is normal; buff it off after the grout firms up. Let grout cure per the package (usually 48-72 hours), then apply grout sealer. Caulk the joint where tile meets countertop with silicone, not grout; the counter flexes and grout cracks there.
Material Choices and Costs
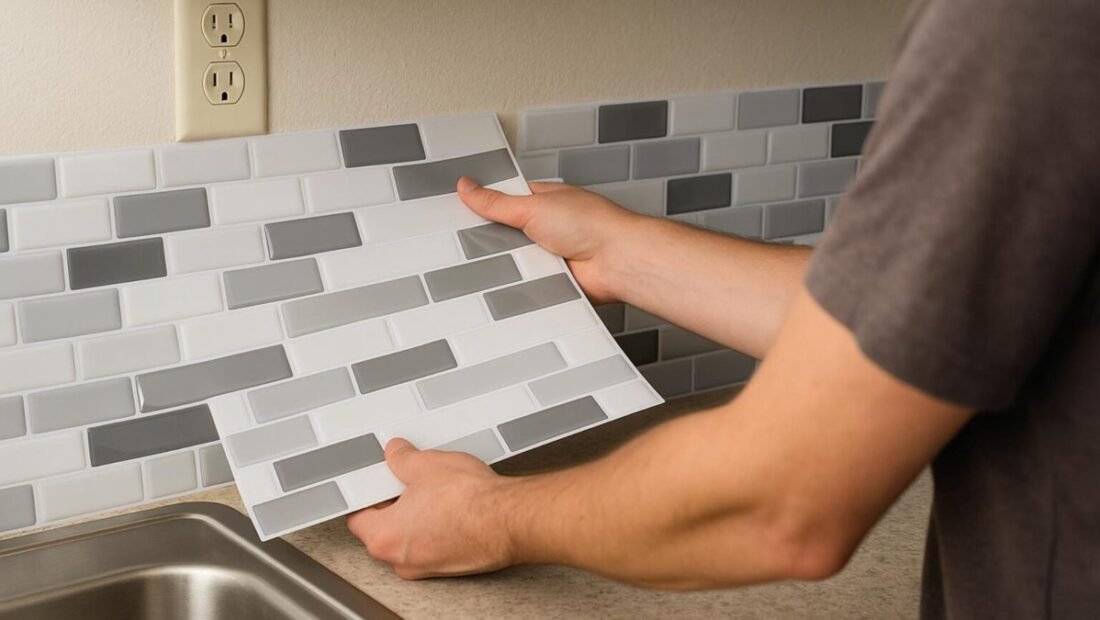
Subway tile remains the best value: $2-$5 per square foot, timeless, forgiving for beginners. Mosaic sheets ($5-$15/sq ft) install fast since the mesh holds spacing, great for beginners. Natural stone ($7-$20/sq ft) is beautiful but needs sealing and stains easier. Peel-and-stick ($5-$10/sq ft) is the rental-friendly option that looks surprisingly good now. A typical 30 sq ft backsplash runs $100-$300 in materials plus $50 tool rental, versus $800-$1,500 professionally installed.
Order 10-15% extra tile for cuts and mistakes; dye lots vary, and running short mid-project is a disaster. Keep a few spare tiles after; future repairs need matching tile.
Quick Answers to Common Questions
Can I tile over existing backsplash?
Over flat, well-adhered tile, sometimes, with proper prep. Over damaged or glossy surfaces, remove first. When in doubt, remove; the extra day prevents failures.
Do I need to remove outlet covers?
Yes, and extend the boxes with extenders so outlets sit flush with the tile surface. This is code, not cosmetics; recessed outlets behind tile are a fire consideration.
How long does a backsplash take?
A typical kitchen: one day setting tile, one day grouting after curing. Weekend project for most DIYers, plus shopping and prep.
What is the easiest backsplash for beginners?
Mosaic sheets on mesh: spacing is built in, cuts are easy, and small tiles forgive wall imperfections. Subway tile with a snap cutter is the second-easiest.
My Backsplash Checklist
- Prep wall meticulously. Degrease, repair, outlet extenders ready.
- Layout from the focal point. Dry-lay first row. Ledger board level.
- Set in small sections. Thinset skins fast. Press, twist, spacer.
- Cure, grout, seal. 24h before grout, 48-72h before sealer.
- Silicone at the counter joint. Not grout. Counters flex.
What I Would Do Next
The fruit border is gone, replaced by classic white subway tile that makes the whole kitchen look intentional. Total: $180, one long weekend, and a skill I have used in two bathrooms since. Guests ask for my tile guy’s number. I am the tile guy now, and honestly, you can be too.
How to install a backsplash in your kitchen yourself: prep relentlessly, plan from the focal point, set in small sections, cure before grouting, and seal afterward. $180 and a weekend for the professional look.
The backsplash is the gateway tile project. Start here, and do not be surprised when you start eyeing the bathroom floor next with genuine confidence.
The detail that separates good from great: caulk the top edge where tile meets cabinets or wall with paintable caulk for a crisp finished line, and use bullnose or edge trim tiles on any exposed tile edges rather than leaving raw cut edges visible. These finishing touches take twenty minutes and are the difference between a backsplash that looks DIY and one that looks designed.
Related reading: What Is the Best Way to Clean Grout Between Tiles.
Related reading: How Much Does It Cost to Refinish Hardwood Floors.
Related reading: How Do I Know If a Wall Is Load-bearing Before Removing It.
For official guidance, check out the Department of Energy home efficiency guides and Family Handyman project walkthroughs.