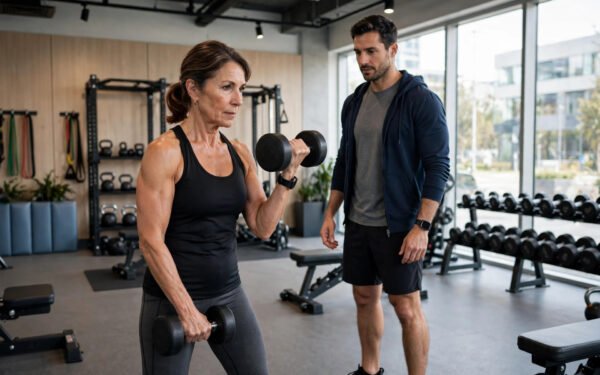
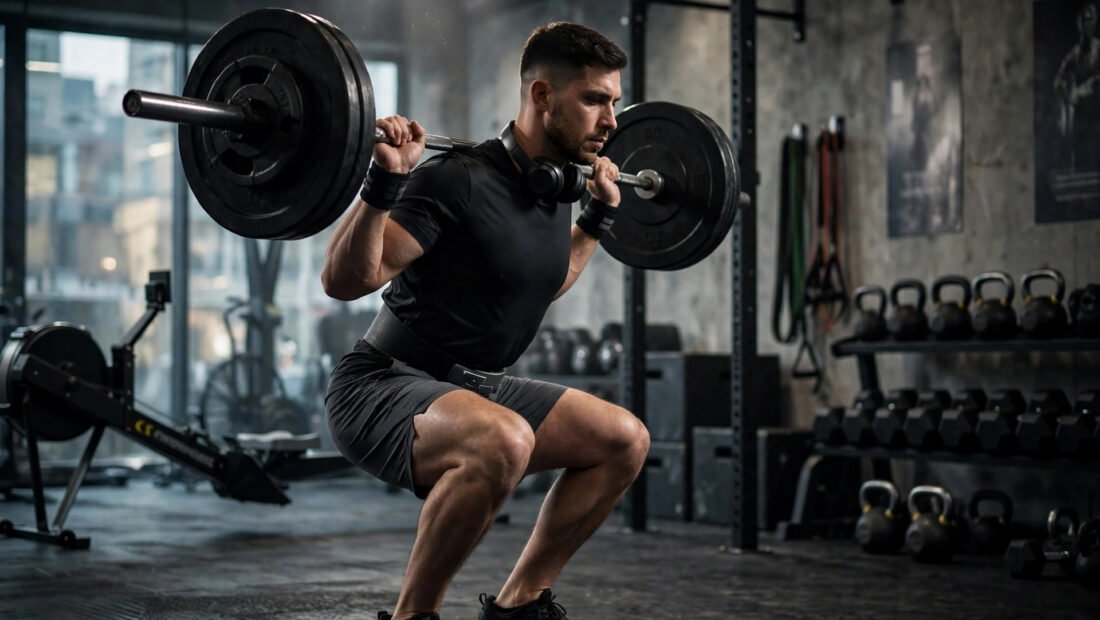
Knees caving inward, heels lifting off the floor, a pinch at the bottom of every rep: squat pain usually traces back to two or three fixable setup faults, not to the squat itself. Healthy knees tolerate squatting well. Faulty squatting loads them badly, rep after rep, until they complain. The steps below break the movement into setup, descent, and ascent, in the order you perform them, with the fault fixes built in where each fault actually happens.
Step 1: Set Your Stance Before Anything Moves
Stand with your feet roughly shoulder-width apart. Turn your toes out between 15 and 30 degrees. The exact angle is set by your own hip anatomy, not by a poster on the gym wall. If your hips feel jammed with toes straight ahead, turn them out a little more. If a wider angle feels loose and unstable, bring it in. Test the stance with a few bodyweight squats and keep the angle that lets you sit down smoothly.
Spread your toes and press the whole foot into the floor. Three points carry the load: the base of the big toe, the base of the little toe, and the heel. Coaches call this a tripod foot. If your weight rolls to the inside edge or onto the toes alone, the knee above that foot is already off line before the rep begins. Think of screwing your feet into the floor, a slight outward twist without the feet moving, to wake up the muscles around the hips.
Step 2: Brace Before You Bend
Take a breath in through the nose and fill the belly and sides, not just the chest. Tighten the trunk as if you expect a light punch to the stomach. Hold that brace as you start the rep. A braced trunk keeps the torso at a steady angle, which keeps the load shared between the hips and knees instead of dumping it into one joint.
Set your eyes on a fixed point a few feet ahead on the floor or straight ahead at the wall, and keep the ribs down rather than flared. This takes two seconds. Skipping it is why many first reps of a set look fine and later reps fold forward: the brace was never set, so fatigue takes it away.
Step 3: Start the Descent With Hips and Knees Together
Begin by bending the hips and knees at the same time. A small push of the hips back paired with the knees bending is the right picture. Starting with only the hips sends the chest diving forward. Starting with only the knees shoves all the work into the front of the knee.
Lower under control for about two to three seconds. Fast, dropping descents bounce you into the bottom position where control is weakest, and the knees pay for that bounce. A controlled descent also gives you time to feel where your weight sits. It should stay over the middle of the foot from start to finish.
Step 4: Keep the Knees Tracking Out Over the Toes
Your knees should travel in the same line your toes point. Push them gently out as you descend rather than letting them drift toward each other. Knees caving inward, called valgus collapse, is the fault most closely tied to knee pain in the squat. It twists the joint under load and usually points to weak or sleepy glute muscles.
Forward knee travel itself is not the enemy. For many lifters, especially those with long legs, the knees will pass the toes at the bottom. That is normal and not inherently dangerous. Forcing the knees to stay back to obey an old cue shifts the load to the hips and lower back and tips the chest forward. The rule that matters is tracking, not an imaginary line at the toes. Form guidance along these lines runs through the National Strength and Conditioning Association’s lifting resources, which coaches use as a standard reference.
Step 5: Descend Only as Deep as Your Form Holds
Squat as deep as you can while your heels stay down, your knees keep tracking out, and your lower back stays in its natural position. For most lifters that lands around parallel, where the hip crease reaches roughly the level of the top of the knee, or just below it. Some bodies go deeper with clean form. Some are not built to, and forcing depth they do not own creates the faults this sequence is trying to remove.
If your heels lift or your back rounds well before parallel, your current depth is above that point, and that is fine. Squat to a box or bench set at the height you can reach cleanly. Touch it lightly without sitting your full weight down, then stand. Over weeks, lower the target slightly as ankle and hip mobility improve.
Step 6: Drive Up Through the Whole Foot
Start the ascent by pushing the floor away with the full foot, not by pulling up with the lower back. Keep pressing the knees out as you rise, because the cave-in fault often appears on the way up even when the descent looked clean. Fatigue shows in the ascent first.
Your chest and hips should rise together at roughly the same speed. If the hips shoot up first and the chest stays down, the rep has turned into a back lift with the knees straightening early, which changes the load and usually means the weight is too heavy that day. Breathe out through the hardest part of the rise, the sticking point a few inches above the bottom, while keeping the trunk tight until you are nearly standing.
Step 7: Finish Tall Without Snapping the Knees
Stand fully upright and squeeze the glutes at the top. Do not throw the hips far forward or lean back to finish, and do not lock the knees with a hard snap. A firm, straight finish is enough. Reset your breath and brace at the top before the next rep begins. Every rep gets its own setup, its own brace, and its own full-foot drive.
End the set when the pattern breaks. If the knees cave on rep seven despite your effort to push them out, or the heels lift and the chest folds, the useful work is done. Extra reps in a broken pattern practise the fault and load the knees in exactly the way you are training to avoid.
Step 8: Fix the Three Faults That Cause Most Knee Pain
Knees caving in. Loop a light mini-band just above the knees during warm-up squats. The band pulls the knees inward, so you have to press out against it, which teaches the right action without a coach shouting cues. Add glute bridges and clamshells two or three times a week to build the muscles that hold the knees out under real load.
Heels lifting. This usually means limited ankle mobility, though long legs can play a part. Work on ankle mobility with knee-to-wall drills, moving the foot a little farther from the wall as the range grows. While you improve it, a small heel wedge or weightlifting shoes with a raised heel let you squat with sound form today instead of waiting months. That is a tool, not a shortcut to be ashamed of.
Forward collapse. Drop the load and slow the rep down. Tempo squats with a three-second descent expose the exact point where the chest falls. Goblet squats, holding a dumbbell at the chest, also help, because the front load acts as a counterbalance that encourages an upright torso. Strength built in a clean pattern transfers. Strength built in a collapsed pattern mostly transfers the collapse, a point worth remembering when you later read about how to learn proper deadlift form, since bracing and hip control carry across both lifts.
Step 9: Use Knee-Friendlier Variations While You Rebuild
A variation is not a lesser squat. Box squats set your depth precisely and remove the bounce at the bottom. Goblet squats suit beginners and anyone rebuilding after a break. Spanish squats, done with a band behind the knees and an upright torso, load the quads hard while being a common choice in rehab settings for cranky knees. A reduced range of motion, squatting to a higher box for a few weeks, lets you keep training while the full pattern is restored.
Pick the variation you can perform with the steps above intact. Progress that one. Return to the standard squat when the pattern holds under load, not on a fixed date.
Step 10: Programme Recovery and Respect the Stop Signs
Give your knees 48 hours between hard squat sessions. Muscle recovers faster than the tendons and other connective tissue around the knee, and connective tissue sets the real pace. Two or three sessions a week with a rest day between them suits most beginners well. Begin with bodyweight or a light goblet load for sets of 8 to 12 clean reps, leaving a couple of reps in reserve, and add weight only when every set looks the same from first rep to last.
Finally, learn the difference between effort and warning. Burning quads and general fatigue are normal training feelings. Sharp pain, a pinch that worsens as the set goes on, swelling after training, or a knee that locks or gives way are stop signs. Do not push through those to finish a programme. Get the knee assessed by a medical professional or physical therapist, and return with a plan based on what they find. A squat performed with patience builds legs for decades. A squat forced through warning signs borrows strength from the joint and sends the bill later.