The salon blowout — smooth, voluminous, bouncy hair that moves like a shampoo commercial — lasts days and photographs beautifully. The salon price ($40–$75+ in Texas, weekly for devotees) adds up to thousands per year. But the blowout isn’t salon magic; it’s a technique sequence — prep, sectioning, tension, heat direction, and cooling — that anyone can learn. Here’s the complete at-home blowout system, including how to make it survive Texas humidity.
The Toolkit (What You Actually Need)
- Hair dryer with nozzle concentrator: the nozzle isn’t optional — it directs airflow down the hair shaft (smoothing) instead of scattering it (frizzing). Ionic dryers reduce static; a cool-shot button sets the style.
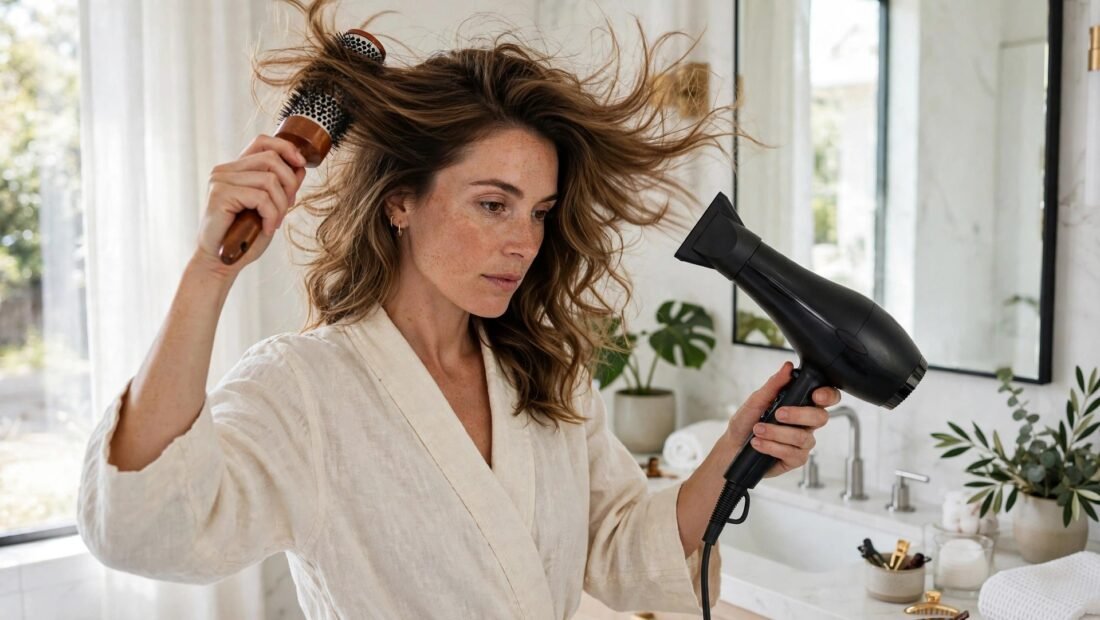
- Round brushes: a medium ceramic round brush (2-inch for most hair) is the workhorse — ceramic retains heat, helping set the shape. Large barrels = volume and loose waves; small = curl and shorter hair.
- Sectioning clips: 4–6 clips. Working in sections is the difference between a blowout and just… drying your hair.
- Heat protectant: non-negotiable — blowout heat without protection causes cumulative damage. Apply to damp hair before anything else.
- Volumizing mousse or root-lift spray: applied at roots on damp hair — the foundation of lasting volume.
- Lightweight smoothing serum or oil: ends only, after drying — seals and adds shine without weighing down.
- Optional but transformative: a paddle brush for the initial rough-dry, Velcro rollers for setting volume while you do makeup.
The Technique: Step by Step
1. Prep (the step everyone rushes)
Shampoo twice (clean roots hold volume; residue collapses it), condition mid-lengths to ends only (conditioner on roots = flat blowout). Towel-dry gently — no rubbing. Apply heat protectant throughout, volumizing product at roots. Detangle completely with a wide-tooth comb — every knot becomes a frizz point under heat.
2. Rough-dry to 80%
Blast hair upside-down or all around with fingers or a paddle brush until ~80% dry. This removes bulk moisture fast and builds root lift. Don’t touch the round brush yet — round-brushing soaking hair takes forever and overexposes it to heat.
3. Section
Divide into 4–6 sections: bottom nape, sides, crown, front. Clip everything except the section you’re working. Small sections (1–2 inches wide) are the professional secret — they let heat and tension actually shape the hair instead of skimming over it.
4. Round-brush each section
Place the round brush at the roots, dryer nozzle pointing down the hair shaft (never up — that roughens the cuticle into frizz). Pull the brush through with tension, following with the dryer. At the ends: roll under for the classic blowout curve, or rotate the brush for bevel. Cool shot each section before releasing — heat shapes, cold sets. Skipping the cool shot is why home blowouts fall flat in an hour.
5. The crown (volume headquarters)
Over-direct crown sections — pull them up and forward, drying roots against their natural fall. This creates the lift that reads as “blowout.” Velcro rollers on the warm crown sections, left while you do makeup, set volume that lasts.
6. Finish
Once fully dry and cool: a pea-sized amount of serum on ends only, light-hold flexible hairspray if needed (heavy spray kills the movement that defines a blowout). Flip, shake, done.
Troubleshooting Common Failures
- Frizzy despite effort: nozzle pointing wrong direction, sections too large, or hair wasn’t fully dry (damp hair re-frizzes instantly). Also: check your heat protectant actually contains silicones or smoothing agents.
- Flat by noon: roots weren’t dried with over-direction, no volumizing product, or conditioner touched the roots. Cool-shot setting also matters enormously.
- Takes over an hour: sections too big, started round-brushing too wet, or dryer underpowered. Rough-dry thoroughly first — it cuts total time dramatically.
- Ends look fried: too much heat on ends, no heat protectant, or ends need a trim — damaged ends can’t be blowout-smoothed, only cut.
- One side perfect, other side chaos: the non-dominant-hand struggle is universal. Practice the awkward side first (when arms are fresh), and consider a rotating hot-air brush — it does the brush-dryer coordination for you.
Making It Survive Texas Humidity
- Humidity is the blowout’s nemesis: moisture in the air re-hydrates the hair shaft, undoing the smoothing. Texas summer humidity is the final boss of at-home blowouts.
- Anti-humidity sealants: serums and creams marketed as anti-humidity/frizz-fighting create a barrier — apply to dry hair as the final step. They’re the highest-impact humidity defense.
- Finish completely dry: any residual dampness + humidity = instant collapse. When you think it’s dry, dry it more.
- Silk/satin pillowcase: preserves the blowout overnight — cotton absorbs moisture and creates friction. Pineapple the hair (loose high pony) for sleep.
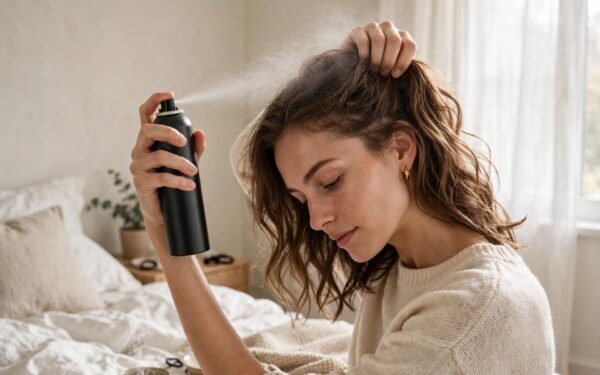
- Dry shampoo at roots on day 2: absorbs oil without water — the blowout extender. Apply at night for morning freshness.
- Realistic expectations: a Texas August outdoor wedding will defeat any blowout eventually. Indoor events, offices, and evenings are where home blowouts shine here.
Hair health underpins everything — regular heat styling demands bond care and trims. Hair health fundamentals cover what keeps hair resilient under styling stress. And the ritual deserves proper time: a real self-care day is the ideal setting to practice the technique without rushing — blowouts learned in a hurry stay bad.
Protecting Hair From Repeated Heat
Weekly blowouts mean weekly high heat — the damage is cumulative, so protection must be systematic: heat protectant every single time (no exceptions — it reduces moisture loss and cuticle cracking measurably), keep the dryer moving (never park heat on one section), use the lowest effective temperature (fine hair needs far less heat than thick hair), and deep-condition weekly to replace lost moisture. AAD hair-care guidance specifically recommends limiting heat styling frequency and always using protectants — and if you notice increasing breakage, white dots on strands, or ends that won’t smooth no matter the technique, that’s heat damage talking: get a trim and reduce the heat before it travels up the shaft. A Cleveland Clinic dermatology overview of hair damage notes the same progression — early intervention (trims, conditioning, lower heat) reverses the trajectory, while ignored damage only compounds.
Cost Comparison: Salon vs. Home
- Salon blowout: $40–$75 per visit in Texas; weekly = $2,000–$3,900/year.
- Home setup: quality dryer ($80–$150) + brushes, clips, products ($60–$100) = ~$150–$250 one-time. Per-blowout cost after that: pennies.
- Break-even: 3–4 salon visits. The skill pays for itself within a month of weekly blowouts.
- The hybrid: salon blowout for events + home maintenance blowouts weekly — the realistic luxury balance.
Conclusion
The salon blowout is a learnable sequence: proper prep (double shampoo, roots-only product), rough-dry to 80%, small sections, round brush with downward airflow and tension, cool-shot every section, over-directed crown for volume, anti-humidity sealant to finish. Practice the awkward side first, finish completely dry, and protect the style overnight. Texas humidity is the adversary — but with sealants, thorough drying, and realistic expectations, home blowouts survive it. Three to four salon visits’ worth of equipment pays for itself; the skill pays dividends for years.
Frequently Asked Questions
How do I do a salon-quality blowout at home?
Prep with heat protectant and root volumizer, rough-dry to 80%, work in small sections with a round brush (dryer nozzle pointing down the shaft), cool-shot each section to set, over-direct the crown for volume, and finish with anti-humidity serum.
Why does my blowout go flat so fast?
Usually: conditioner on roots, no volumizing product, sections too large, skipping the cool shot, or hair not 100% dry. Each of these collapses volume within hours — fix all of them for lasting lift.
What products do I need for a blowout?
Heat protectant (essential), volumizing mousse or root spray, a round ceramic brush, sectioning clips, a dryer with nozzle and cool shot, and a lightweight finishing serum. Anti-humidity sealant for Texas summers.
How do I make my blowout last in humidity?
Finish completely dry, apply anti-humidity sealant as the last step, sleep on a silk pillowcase with hair loosely pinned up, and use dry shampoo at roots on day 2. Accept that extreme humidity shortens any blowout’s life.
Is a hot-air brush as good as a round brush and dryer?
For most home users, yes — rotating hot-air brushes simplify the coordination that makes traditional blowouts hard (especially the non-dominant side). Slightly less precision than separate tools, but dramatically easier to learn.