Perfect at 9 a.m. Feathered into the fine lines around the mouth by lunch. If that pattern sounds familiar, the lipstick itself is probably innocent. Bleeding, also called feathering, happens when the oils in a lipstick soften, loosen, and creep outward along the tiny lines in the skin. Texas heat speeds the whole process up, and sun exposure deepens the very lines the color travels through. Most bleeding traces back to a short list of prep, priming, and lining mistakes that people repeat every morning without knowing it. Fix the mistakes in the order they happen, and the color stays where it was put.
Mistake one: applying lipstick over a slick layer of balm
Dry lips do cause trouble, but the common fix creates a worse one. Many people lay down a generous coat of lip balm and apply lipstick straight over it. The balm is a lubricant. Lipstick sitting on top of it has nothing to grip, so it slides at the first sip of coffee or the first warm walk to the car. The goal is a lip that is hydrated but not greasy. Put balm on early, while doing the rest of your makeup, give it time to sink in, then blot off every trace of shine with a tissue before any color goes near your mouth. If your lips feel tight by midday, the answer is better night care, not a slicker base under the lipstick itself.
Mistake two: skipping exfoliation, then blaming the formula
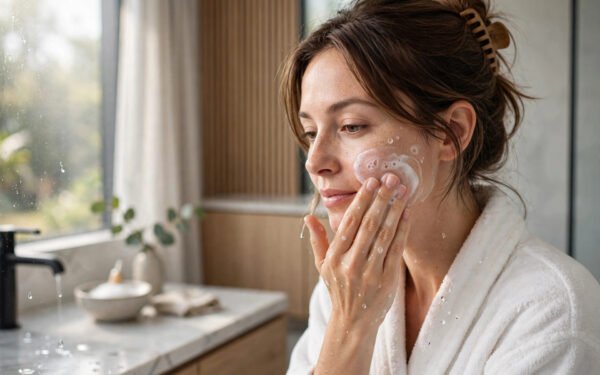
Flaky skin gives lipstick an uneven map. Color pools in the low spots between flakes, sits thick in some places and thin in others, and migrates along the rough edges all day. No formula can perform on that surface. A gentle scrub once a week solves most of it: a damp washcloth worked in small circles, or a simple sugar scrub, for about 30 seconds. That is enough. Daily scrubbing is its own mistake, because irritated, raw lips hold color worse and sting under matte products. After exfoliating, moisturize and let the lips settle. Smooth skin is the foundation every later step depends on, the same way skin prep decides how the rest of a face holds up, a point covered in how to stop makeup creasing under your eyes in the heat.
Mistake three: no primer, no grip
Bare lips are smooth, slightly oily, and quick to release color. Primer changes the surface. A dedicated lip primer, or a thin layer of foundation or concealer pressed over the lips and set with a dusting of translucent powder, gives lipstick something to hold. It also evens out your natural lip color, so the shade in the tube is the shade people actually see. Skipping this step is the quiet reason reds look patchy by noon even when the application looked flawless in the mirror. Keep the layer thin. A thick, cakey base cracks and flakes, which trades one failure for another.
Mistake four: lining the edge only, or overlining into the danger zone
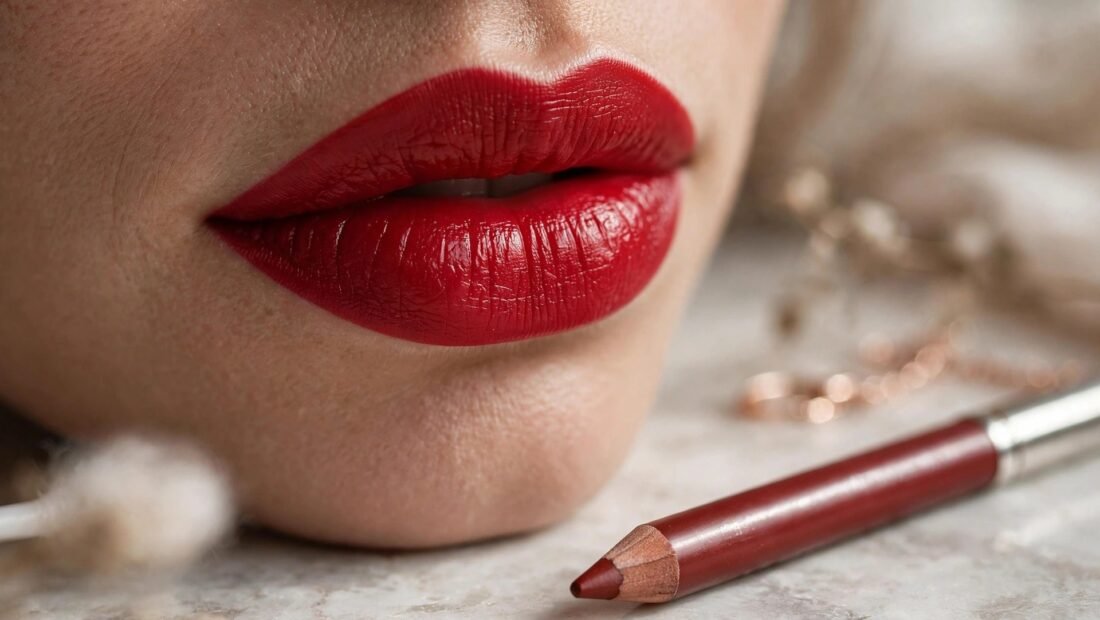
Lip liner is not decoration. It is a waxy dam, and wax is what stops oil-based color from creeping. Two errors undo it. The first is drawing a line and stopping there, leaving the rest of the lip bare, so the lipstick in the middle has no grip and wears unevenly while the edges still wander. The fix is to fill in the entire lip with liner before lipstick goes on. A full liner base holds color for hours longer and means that when the lipstick layer fades, an even stain of liner remains instead of a bare mouth with a dark outline. The second error is overlining, drawing well outside the natural lip line to fake fullness. Color placed on skin outside the lip, where the fine lines live, bleeds fastest of all. Line at the natural edge or a hair outside it, and choose a liner that matches the lipstick or your own lip color. Allure’s lipstick application and long-wear guides show the same fill-first technique used by working makeup artists, because it is the step that does the heavy lifting.
Mistake five: choosing a glossy formula for a Texas summer day
Formula choice is a wear-time decision. Matte liquid lipsticks and lip stains set in place and move the least, which makes them the safest pick for outdoor heat, weddings, long workdays, and any event with food. Classic matte bullets come next, especially layered over a full liner base. Satin and creamy formulas feel comfortable because they carry more oil, and that same oil is what travels. Glossy and sheer products bleed the most and should be treated as short-wear items unless the full prevention routine sits under them. A workable compromise is a matte long-wear base with a dab of gloss only in the center of the lips, far from the edges where bleeding starts. Save the ultra-creamy lipsticks for air-conditioned evenings. Also remember that bleeding shows most in dark and bright shades, reds, berries, and plums, because the contrast against skin exposes every stray line. Nudes feather too, but nobody can see it.
Mistake six: reapplying over a bleed instead of cleaning it
The midday touch-up is where a small problem becomes a stained mess. Adding fresh lipstick over color that has already migrated just feeds more pigment into the lines. Clean first, always. Blot with a tissue, trace just outside the lip line with a small brush and concealer to erase the feathering and rebuild the edge, press a little translucent powder around the perimeter to absorb the stray oils, then reapply color to the center of the lips. Keep the matching liner in your bag. With liner, concealer, and a tissue, a full rescue takes about 30 seconds at a restroom mirror, and the result looks like a fresh application instead of a repair.
Mistake seven: ignoring sun and dryness the rest of the week
Bleeding gets worse as lips age, thin, and collect sun damage, and Texas delivers sun damage efficiently. The skin on the lips is thin and burns fast. UV exposure deepens the lines around the mouth over time, which widens the channels lipstick travels through. A lip balm with SPF every morning is long-term bleed prevention, not a beach extra, and it needs reapplying through the day like any sunscreen. At night, a rich lip balm or mask repairs what wind, sun, and air conditioning dried out. Chronic dryness matters too; cracked, dehydrated lips present exactly the uneven surface that color migrates across, so steady water intake plus topical balm is the pairing that works. Smoking deserves a direct mention: it speeds up wrinkling around the mouth more than almost anything else, building the very lines that defeat lipstick later.
The prevention system, in the order it has to be applied
With the mistakes named, the correct routine is short and strict about sequence. Exfoliate once a week and moisturize daily, blotting balm fully before makeup. Prime the lips with primer or a thin layer of foundation or concealer, set lightly with translucent powder. Line at the natural edge with a matching liner, then fill the whole lip with that liner. If you prefer not to match liners to every shade, a clear invisible liner pencil builds the same waxy dam without any color, and a thin ring of concealer set with powder just outside the lip line works as a barrier for nudes and glosses. Apply lipstick, blot with a tissue, dust translucent powder through the tissue, and apply a second layer. That tissue-powder sandwich is the long-wear method makeup artists rely on for events, and it adds only a minute. Choose the formula for the day ahead: long-wear matte or stain for heat and long hours, creamier textures only when the schedule stays indoors and short.
Shade choice and storage: two quiet helpers
Shade will not stop bleeding on its own, but it decides how visible any slip becomes and whether the color flatters you while it lasts. Match the temperature of the lipstick to your undertone: warm undertones tend to glow in orange-reds and warm berries, cool undertones in blue-reds and cool plums. A shade working against your skin draws the eye to the mouth for the wrong reason, and every small feather looks larger. Storage matters in Texas too. A lipstick left in a hot car softens, sweats, and applies unevenly for days afterward, even once it cools. Keep everyday shades in your bag or indoors, not on the dashboard, and retire any lipstick that smells off or drags strangely, since an aged, drying formula grips poorly and travels more.
When the routine still is not enough
If bleeding persists even with careful prep, look at the lip line itself rather than the products. Very soft, undefined lip borders let color escape more easily, and some people simply have deeper lines around the mouth from years of sun. A dermatologist can talk through options for the skin around the mouth and check anything that looks like a health issue rather than a makeup issue. Persistent cracking, discoloration, or a sore that does not heal is not a lipstick problem at all and deserves a medical visit promptly. For everyone else, the honest summary is unglamorous: bleeding is a preparation problem wearing a product problem’s clothes. Blot the balm, smooth the surface, prime for grip, line and fill the whole lip, pick a formula that matches the weather, and clean before you ever reapply. Do those things in that order, and the red that looked perfect at 9 a.m. will still be sitting inside the lines at lunch, through a Texas afternoon, and past dinner.