Most beginner pottery goes wrong before the clay is even touched. The wrong clay gets bought for the firing access at hand, no plan exists for where finished pieces will be fired, and the first walls get rolled or pinched to three different thicknesses in a single pot. None of those errors comes from lack of talent. All of them come from starting without a checklist. Pottery rewards a calm setup: the right clay, a handful of cheap tools, a washable workspace, and a firing plan settled before the first ball of clay is rolled.
Hand-building is the right entry point. Pinch, coil, and slab methods need no wheel, no kiln at home, and very little money, yet they teach how clay behaves — how it stretches, dries, cracks, and holds together. A weekend of hand-building teaches more than weeks of watching skilled potters on a wheel. The checklist comes first, in full. Detail on each item and each stage follows after.
The Starter Checklist
Clay: one block of stoneware or earthenware clay, 5 to 10 lb, costing $15 to $30. Stoneware is forgiving and fires strong. Earthenware is softer and easier to shape. Buy clay that matches the firing plan below.
Wire cutter: $5 to $10, for slicing clean chunks off the block.
Needle tool: $3 to $6, for trimming, scoring edges before joining, and fine detail work.
Rib: $4 to $8, a flat curved tool in wood, metal, or rubber, for smoothing and shaping surfaces.
Wooden modeling tools: $8 to $15 for a set, for shaping, carving, and detailing.
Sponge and spray bottle: about $5 total, for keeping clay workable and smoothing surfaces as work proceeds.
Rolling pin and canvas cloth: a kitchen rolling pin works fine, and canvas or an old bedsheet covers the table and keeps slabs from sticking.
Workspace: a sturdy table, a bowl of water, a damp towel for hands, old clothes, and an apron.
Firing plan: studio firing at $5 to $15 per piece, a community class that includes firings, or air-dry clay if no kiln access exists at all.
Total cost for hand-building basics runs about $40 to $80. Bundled beginner kits that gather most of the tools run $20 to $35 online and can lower the total further, though clay usually still needs a separate purchase. Deliberately missing from the list are a home wheel at $300 to $500 and a small electric kiln at $700 to $1,200 plus wiring and ventilation. Both are fine purchases later. Neither belongs in a first month.
Choosing Clay With the Firing Plan in Mind
Clay and firing cannot be chosen separately. Real ceramic clay only becomes hard, waterproof pottery after firing at high heat. Kilns reach 1,800 to 2,300°F. A home oven tops out around 500°F, so an oven is not a kiln and cannot finish the job, no matter how long the piece bakes. That single fact shapes the whole beginner plan.
Three workable routes exist. The strongest route for most beginners is real stoneware or earthenware clay combined with studio firing. Local pottery studios and community centers fire outside pieces for a per-piece fee, typically $5 to $15 depending on size. The studio handles the kiln schedule, which takes 8 to 12 hours including cool-down, and the beginner handles only the making. A second route is a community class lasting 4 to 8 weeks at $150 to $300, usually including clay, tools, glazes, and firings, plus instruction. For many beginners that class costs less than assembling a setup and paying per piece, and the teaching prevents the most common early failures. The third route is air-dry clay with no firing at all. Air-dry pieces can be painted with acrylics and suit decoration and practice, but they are not food-safe or waterproof. Choose the route first, then buy the clay that fits it. Background on materials and firing from the American Ceramic Society’s ceramics resources can help when comparing clay types and temperature ranges.
Setting Up the Workspace
Cover the table with canvas or an old sheet. Clay dust and scraps get everywhere, and a covered surface lifts away for easy cleaning. Fill a bowl with water, lay out the checklist tools within reach, and keep a damp towel nearby. Wear old clothes and an apron.
Two habits protect the home. Never rinse clay tools in the sink. Clay settles in pipes and can clog them. Use a bucket instead, let sediment settle, pour off the clear water, and throw the sludge in the trash. Dry clay dust also needs care, since it contains silica. Wipe surfaces with a damp cloth rather than sweeping them dry, and wear a dust mask when sanding fired pieces.
Wedging the Clay
Cut a grapefruit-sized piece from the block with the wire cutter. Wedge it by kneading firmly like bread dough for 2 to 3 minutes, pressing and folding in a steady rhythm. Wedging evens out moisture, firms the texture, and pushes out air bubbles. Air left inside is not a minor flaw. In the kiln, trapped air expands and can shatter the piece, sometimes damaging neighboring work as well.
Well-wedged clay feels uniform, with no soft and hard patches and no visible air pockets when cut open with the wire. Check a first batch by slicing the wedged lump in half. Bubbles or streaks mean more kneading. Two to three minutes per piece feels long on day one and short by week two, as hands learn the motion. Skipping this stage is the classic beginner shortcut, and the kiln punishes it reliably.
Building the First Pieces by Hand
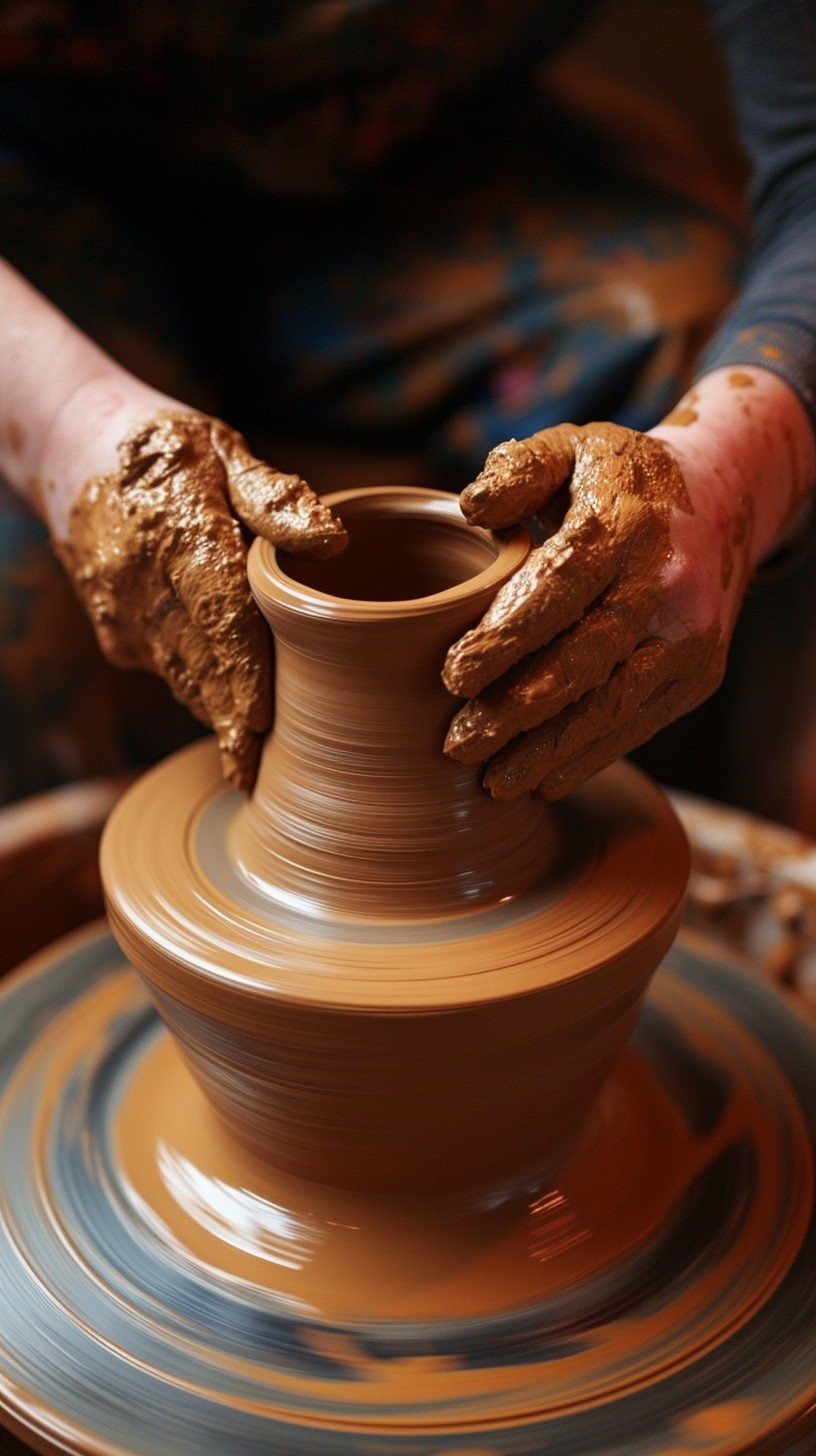
Start with a pinch pot, the oldest pottery technique still in use. Roll the wedged clay into a smooth ball. Press a thumb into the center, stopping about halfway down so the base keeps some thickness. Pinch the walls between the thumb inside and the fingers outside, rotating the ball a little after each pinch. Work around and upward in small steps rather than squeezing one spot thin. Smooth the surface with a damp sponge as the shape settles.
One measurement governs all hand-building: keep the walls an even thickness of about 1/4 inch. Thin spots dry fast and crack. Thick spots dry slowly and can trap moisture. Even walls dry evenly, and even drying is what keeps a piece in one part. Check thickness by feel and by gently pressing; with practice, fingertips learn the 1/4 inch standard quickly. The same patient, staged approach that works here applies to any new hands-on craft, and the principles behind the best way to learn a new skill as an adult — short practice loops, fast feedback, and gradual difficulty — map directly onto the first month of pottery.
After a few pinch pots, add coil building. Roll clay into even snakes, stack them in rings to form walls, and blend the seams inside and out with a rib or modeling tool so the coils become one wall rather than a stack of separate ropes. Then try slab construction. Roll a flat sheet on the canvas to an even 1/4 inch, cut shapes, score the edges to be joined, add a little water or slip, and press the edges together firmly. Slabs suit boxes, trays, and plates. Pinch, coil, and slab together can produce nearly any form a beginner imagines, long before a wheel enters the picture.
Drying Slowly and Firing in Two Stages
Let finished pieces dry at room temperature for 1 to 3 days, depending on thickness. Cover them loosely with plastic to slow the process. Slow, even drying prevents the warping and cracking that direct sun, a heater, or a drafty spot will cause. A piece ready for firing is bone dry: pale in color, room temperature to the touch, with no cool or damp patches. Firing a piece that still holds moisture risks steam cracks in the kiln, so patience at this stage saves the work made in the stages before it.
Firing happens twice. The first firing, the bisque fire, hardens the clay at around 1,800°F. The piece comes out porous and chalky, which is normal and expected. That porous surface is ready to accept glaze. Brush or dip commercial ceramic glaze onto the bisque piece in thin, even coats, and wipe glaze clean off the bottom so the piece does not fuse to the kiln shelf. Match the glaze to the firing range of the clay; labels state the cone range to follow. The second firing, the glaze fire, runs around 1,800 to 2,100°F depending on the glaze. Heat melts the glaze into a glassy, waterproof skin. After cooling, the result is real, functional pottery that can hold water and, with food-safe glaze, hold food.
Mistakes That Crack Pieces and How to Avoid Them
Most beginner losses trace back to a short list of causes. Skipping wedging leaves air that explodes or cracks work in the kiln, so wedge every piece without exception. Uneven wall thickness is the top cause of cracks, so check the 1/4 inch standard early and often, especially at the base where pinch pots tend to stay thick while rims go thin. Drying too fast warps and splits pieces, so keep work covered and away from heat and sun until bone dry. Joining pieces without scoring fails as well: smooth edges pressed together look joined and then separate in drying or firing, while scored, wetted edges lock. Adding very wet clay to a piece that has already stiffened creates mismatched shrinkage and cracks at the join, so build in one session when possible or keep parts at the same moisture level under plastic between sessions.
Starting on the wheel too early is a different kind of mistake. The wheel is tempting, and a $300 to $500 purchase feels like commitment. In practice, hand-building teaches how clay stretches, compresses, and fails in a way that makes later wheel work far easier. Potters who skip hand-building often struggle longer at centering and wall control, because the material itself is still unfamiliar. A season of pinch, coil, and slab work, fired at a local studio for $5 to $15 per piece, builds judgment at low cost. If the work still feels absorbing after those months, a wheel and later a kiln become sound investments rather than expensive experiments. Until then, the checklist at the top — clay, a few hand tools, a covered table, and a firing plan — is the whole studio.