
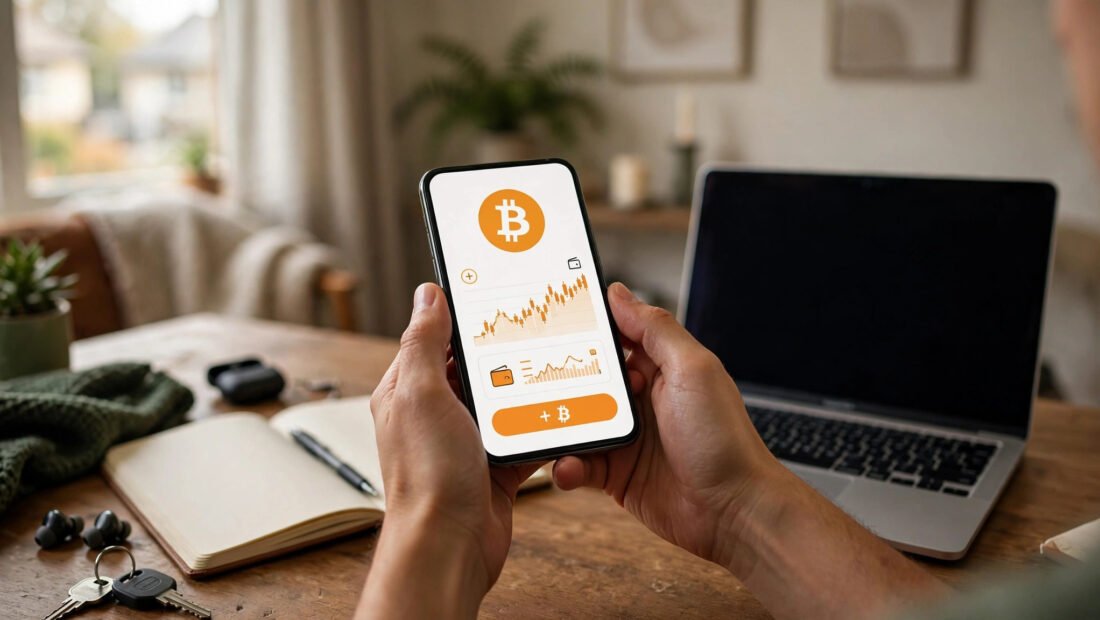
Fifty dollars is enough to learn everything that matters about buying Bitcoin for the first time, and small enough that the lesson stays cheap if the price drops the week after. That first small buy teaches how accounts work, how fees show up, how long a bank transfer takes, and how it feels to watch a balance move. Those lessons are the same whether the amount is $50 or $5,000, so starting small makes sense.
Texas has no state-level ban on buying Bitcoin, and a first purchase can be done through a normal brokerage account, a regulated exchange, or a simple phone app. The safe path is not complicated. Pick a legitimate method, secure the account before any money moves, buy a small amount, and decide in advance where the coins will be held. Each step below builds on the one before it.
Step 1: Pick the Buying Method That Matches the Goal
Three legitimate routes cover almost every beginner. The first is a spot Bitcoin ETF bought through an existing brokerage account, exactly like a stock. There is no wallet to set up and no recovery phrase to store. The trade-off is clear: an ETF gives price exposure only, and the coins cannot be withdrawn or sent.
The second route is a major US exchange. These platforms sell actual Bitcoin that can later be moved to a personal wallet. That flexibility comes with more responsibility. The buyer manages the login, the two-factor settings, and the decision about custody. For anyone who wants to own the asset itself rather than a share that tracks it, an exchange is the standard choice.
The third route is a Bitcoin-only app such as Cash App or Strike. These apps strip the process down to a few taps and work well for a small first buy. The range of coins and features is narrow by design, which is a benefit for a beginner. A short menu means fewer mistakes. Readers who want a closer look at starting with a small amount can read about how to buy fractional Bitcoin with just $50 before choosing a platform.
Step 2: Avoid the Routes That Take Money Fastest
Some options should be ruled out before any account is opened. Offshore exchanges that promise no identity check are a warning sign, not a perk. US law requires verification, and a platform that skips it is also skipping the rules that protect customers. Social media brokers who offer to buy on someone else’s behalf should be ignored for the same reason. Handing money to a stranger on the internet removes every safeguard at once.
Bitcoin ATMs are legal and easy to spot, but fees of 7 to 15 percent are common, so a $100 purchase can lose $7 to $15 before the price moves at all. Anyone who makes first contact about investing, by text, email, or social media, belongs in the same category. A useful habit is to check basic warnings on the SEC’s investor education site, Investor.gov whenever an offer sounds urgent or guaranteed.
Step 3: Set Up Security Before Depositing Any Money
Security comes before the deposit, not after it. Most losses for beginners do not come from a flaw in Bitcoin itself. They come from an account takeover, where someone gets into an email account or phone number and uses it to reset an exchange password. Locking the account first closes that door.
Start with the email account tied to the exchange, since it acts as the master key for password resets. Give it a unique, long password that is used nowhere else, ideally stored in a password manager. Then turn on two-factor authentication with an authenticator app. App codes are stronger than text message codes, because a phone number can be hijacked through SIM swapping. Apply the same authenticator protection to the exchange account itself.
Write down backup codes and keep them offline in a safe place. Do not store them in a photo or a cloud note that uses the same login. Avoid public Wi-Fi for buying, checking balances, or changing settings. A home network or mobile data connection removes an easy point of attack. These steps take perhaps twenty minutes, and they prevent the most common kind of loss.
Step 4: Complete Verification and Link Funding the Cheap Way
A regulated US platform will ask for identity verification before a purchase. Expect to provide a driver’s license or other ID and basic personal details. This step can take minutes or, during busy periods, longer. A platform that lets a new user skip it entirely should not be trusted with a deposit.
Link a bank account rather than relying on a debit card where possible. Bank transfers usually carry lower fees, even if the money takes a day or two to clear. Keep the first transfer small, and check funding limits and hold times in advance.
Step 5: Make the First Purchase of $50 to $100
A first purchase of $50 to $100 is plenty. The goal is to learn the mechanics: placing an order, seeing the fee, watching the balance appear, and checking the transaction record. Bitcoin is divisible to 8 decimal places, so there is no need to buy a whole coin. Most platforms set minimums of only $1 to $10, which means a small test buy is always possible.
Choose a simple market order for the test purchase unless the platform makes a limit order easy to understand. A market order buys at the current price. A limit order buys only if the price reaches a set level, and it may never fill. After the order completes, confirm three things: the amount of Bitcoin received, the fee charged, and the remaining cash balance. Save or screenshot the confirmation for tax records.
Step 6: Check the Full Cost, Not Just the Sticker Price
The price shown on a chart is not the full cost of a trade. Three charges matter. The spread is the hidden markup built into the quoted price, and it often runs 0.5 to 2 percent on beginner-friendly platforms. A trading fee may be added on top. A withdrawal fee applies if coins are later moved off the exchange to a personal wallet.
Simple buy screens tend to cost more than advanced trading screens on the same platform. Learning the advanced view can cut the fee on future purchases, but there is no rush to use it for the very first test buy. What matters is reading the fee summary before confirming. If the total cost of a $100 buy is several dollars, compare that rate with another regulated platform before making larger purchases a habit.
Step 7: Decide Where the Bitcoin Will Live
After the purchase, the coins sit on the exchange by default. That means the platform holds them, and access depends on that account staying open and secure. For a small starter amount on a reputable exchange, leaving the coins in place while learning is reasonable. The risk grows as the amount grows.
A software wallet is a free phone or desktop app that gives the owner direct control. It suits moderate amounts, provided the recovery phrase is stored safely. A hardware wallet is a physical device that costs $50 to $150 and keeps keys offline. It suits serious holdings where the cost of the device is small compared with the value it protects.
The recovery phrase is the critical detail for any personal wallet. Write it on paper, store it offline in a secure place, and never photograph it or type it into a website. Anyone who obtains that phrase can take the coins, and no company can reverse the transfer. Moving a tiny amount to a new wallet first is a wise test before moving a larger balance.
Step 8: Size the Position So a Sharp Drop Stays Survivable
Bitcoin can fall hard and stay down for months. A sensible test is simple. Size the position so a 50 percent drop is survivable without panic and without affecting rent, bills, or emergency savings. If a $500 position falling to $250 would cause real stress or force a sale, the position is too large for now.
Money needed in the next year does not belong in Bitcoin. Neither does borrowed money. A calm approach uses a fixed amount bought on a regular schedule rather than a large lump sum placed after a price spike. Chasing a fast rise is one of the most reliable ways for a beginner to overpay.
Step 9: Handle Texas and Tax Basics From the Start
Texas does not add a separate state ban or a special state buying process, so the main rules are federal. For federal tax purposes, crypto is treated as property. That means a sale, a trade for another coin, or a purchase of goods with Bitcoin can create a taxable gain or loss. Buying and simply holding does not, but the record of that first buy becomes the starting point for later calculations.
Keep records from day one. Save the date, the amount paid, the fees, and the amount of Bitcoin received for every purchase. Exchanges provide statements, but a personal spreadsheet or folder of confirmations makes filing far easier. Losing the cost basis for an early small buy can turn a simple tax return into a long reconstruction job years later.
Step 10: Avoid the First-Month Mistakes That Cost Real Money
The first month brings predictable errors. The first is checking the price many times a day and reacting to each move. Short swings carry no useful information for a long-term holder. The second is moving coins to an unfamiliar wallet without a test transfer. A wrong address or a lost phrase cannot be undone. The third is answering messages from people who claim to represent the exchange and ask for codes or phrases. Real support staff never need a recovery phrase or a two-factor code.
Other costly habits include buying a different coin every week and using funds set aside for bills. A quiet, boring first month is a successful one: the account stays secure, the records stay complete, and the position stays small enough to hold through a drop.




4 Comments