
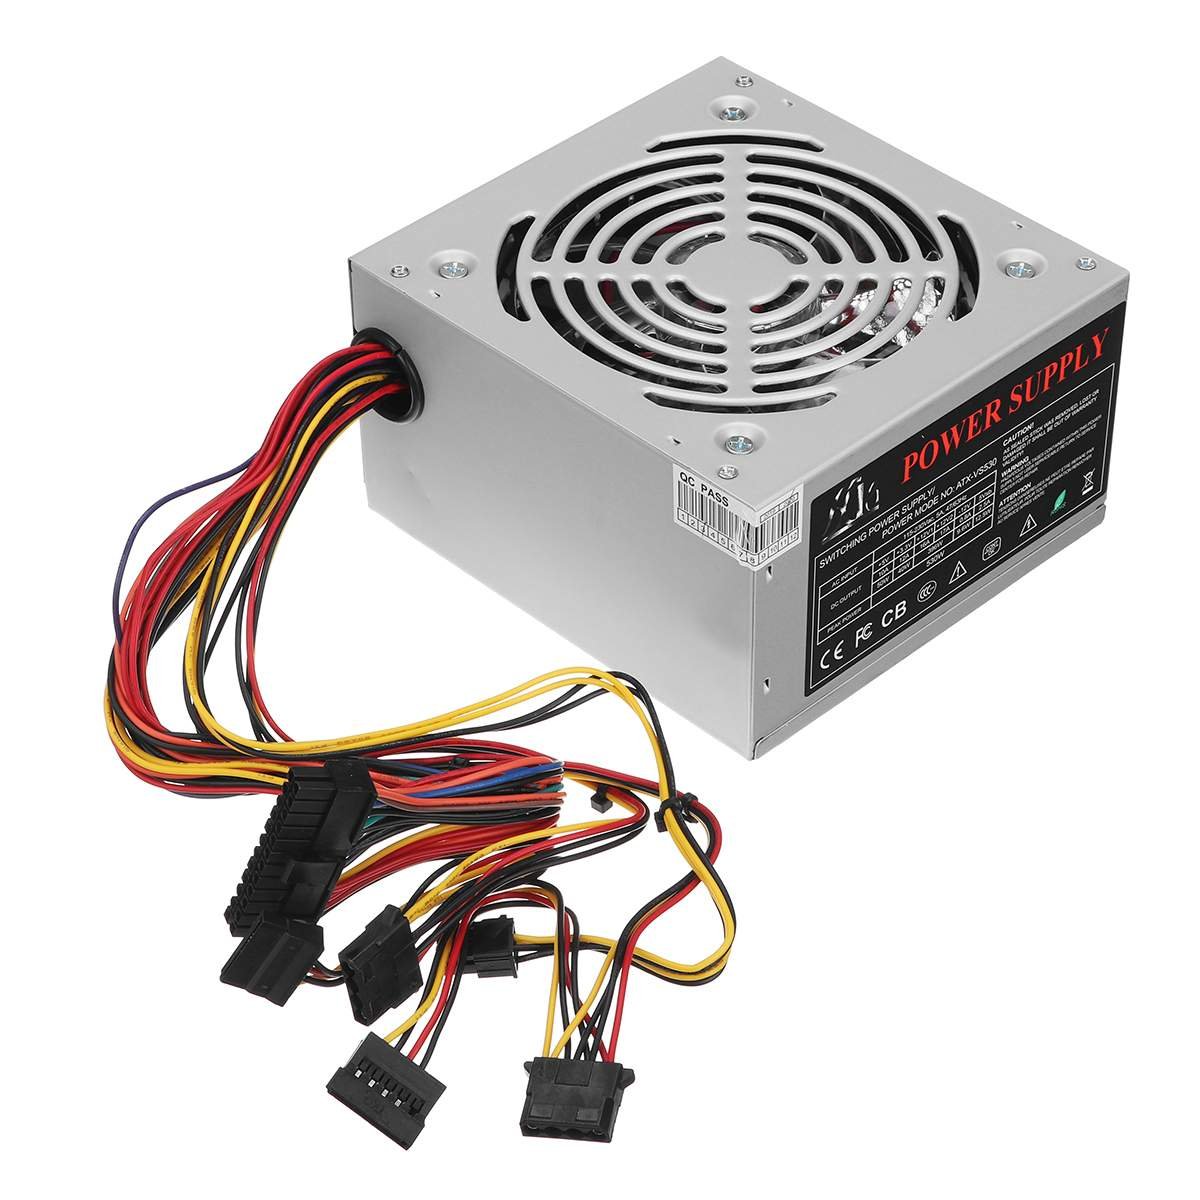
You open Windows, dig through settings, and find nothing. You download a monitoring app, scan every screen, and still find nothing. That search fails for a simple reason: no app can tell you what power supply sits in your PC. The answer is printed on a sticker inside the case. The power supply does not report its model or its wattage to the rest of the machine, so software has nothing to read. Once you accept that fact, the job gets much faster. There are four ways to get the answer, and they are not equal. Each one is weighed below, with a clear ranking at the end.
Why Software Cannot Answer This Question
Windows Settings shows your processor, memory, and storage. It shows nothing about the power supply. That information never reaches Windows.
Monitoring tools can mislead people here, because they show plenty of power-related numbers. A tool like HWiNFO reads voltages and temperatures from sensors on the motherboard and on other parts. It can show how much power your processor or graphics card is using right now. What it cannot show is the power supply’s model, its total wattage, or its rating. No sensor reports those facts, because the power supply does not talk to the motherboard as a data device. It delivers power through cables. It does not send an identity report along with it.
Any app that claims to detect your exact model from a scan is guessing from your other parts. Draw figures still help later, when you judge a new part. They just cannot name the unit you own.
Method 1: Read the Label on the Unit
This is the definitive answer, and it is the method to try first if you can open the case. The power supply is the box your main power cable plugs into. In most cases it sits at the rear of the machine, low down at the back. Many modern cases place it under a shroud, a cover that hides the supply and its cables from view through a side window. The label may face the side panel, the inside of the case, or the shroud, so you may need the panel off to read it well.
The moves are simple. Save your work and shut the PC down fully. Switch the power supply off using the switch on its back, if it has one. Unplug the power cable from the wall. Then remove the side panel, which on most cases means loosening two screws at the rear and sliding the panel back. Touch a metal part of the case to clear static from your hands before you reach inside.
Read the label and write down four things. First, the total wattage, the headline figure such as 550W or 750W. Second, the brand and model name, which let you look up full details later. Third, the 80 Plus rating, if one is printed, which describes efficiency in grades such as Bronze or Gold. Fourth, the figure for the +12V rail, since modern processors and graphics cards draw most of their power from that rail, so it tells you more about upgrade room than the headline figure alone. Also note whether the cables are modular, meaning they unplug from the unit, or fixed in place.
One safety line matters more than all the rest. Opening the case is safe when the machine is unplugged. Never open the power supply unit itself. Do not remove its cover for any reason. Its capacitors can hold a charge after unplugging, and there is nothing inside that a home user needs to touch. Read the outside label only, then close the case.
Method 2: Look Up a Prebuilt PC’s Specs
If your PC came ready-made from a large maker, you may get the answer without a screwdriver. Find the exact model name or the service tag, usually printed on a sticker on the case. Then open the maker’s support page for that exact model and look for the shipped specifications. Makers list the power supply that shipped with each build, often with its wattage and rating.
Match the record to your exact build, not just the model family. The same case can ship with different supplies depending on the graphics card fitted at sale. A support page may list two or three options. Your service tag record, where the maker offers one, is the better source because it ties the parts to your machine rather than to the range as a whole.
OEM utilities and the BIOS rarely help here. The maker’s own support app may show a parts list on some models, and it is worth one look, but most tools focus on drivers, updates, and health checks. The BIOS shows boot and hardware settings, and on most machines it says nothing useful about the supply’s model or rating. Treat both as a bonus check, not a plan.
One caveat can undo this whole method. A refurbished or repaired unit may have had its power supply swapped. If a past repair replaced the original unit with a different one, the shipped record will name a part that is no longer inside your case. If your machine has a repair history you cannot account for, trust the label over the paperwork.
Method 3: Check Receipts and Boxes
Paperwork is a quiet, fast win for anyone who built the PC or bought the parts. Retailer order history names the exact unit you bought, with its brand, model, and wattage in the order line. Email receipts do the same job if you kept them. Search your mail and your store accounts for the order from the build, and the question may be answered in two minutes from your chair.
The original box is just as good. The box carries a label with the same core facts as the sticker on the unit itself, because both come from the maker. If you stored the box in a closet or garage, as many builders do, pull it out and read the panel before you reach for a screwdriver.
This method fails mainly when the trail is cold. Cash sales, second-hand builds, and parts bought by someone else can leave no record you can reach. It also shares the swap risk from the prebuilt method: a receipt proves what was bought, not what is fitted today, if the unit was changed later. For a build that has never been opened since, though, the receipt is as reliable as the label.
Method 4: Estimate From Your Components
The last method does not identify your power supply at all. It estimates a floor. Add up the power figures for your processor and your graphics card, using the figures each maker publishes for those parts. The sum tells you the rough level of supply a machine like yours needs to run. It can hint at what a sensible builder would have fitted, and it can flag a planned upgrade that is clearly too large for a low-end machine.
That is where its value ends. Estimation tells you the minimum, never the actual unit or its headroom. Two machines with the same processor and card can hold very different supplies: one may run a basic 450W unit close to its limit, while the other holds a 750W unit with room to spare. The estimate cannot tell those machines apart. Rank this method last, and use it only when the label is out of reach, the model record is gone, and no receipt or box survives. Guidance on sizing and parts choices also appears in how to build a gaming PC on a budget, which is a useful cross-check when you plan a build around a known supply.
The Verdict: Which Method to Trust
Ranked in order, the label comes first. It names the unit actually fitted in your case today, with its wattage, rating, and rail figure in one place. Nothing else matches that certainty.
Paperwork comes next. A receipt or a box label names the exact unit that was bought, which is the fitted unit in any build that has not been altered since. Prebuilt documents rank just behind that group for a home machine, and they rank as the best first move when opening the case is not an option, as long as you use the exact model or service tag and allow for the swap caveat on repaired machines.
Estimation sits last, on its own. Use it for planning, never as proof. If your only answer comes from adding up parts, treat every upgrade choice with extra care until you can confirm the real unit. Broader sizing and component advice can be found in Tom’s Hardware’s PC building and component guides, a solid reference when you compare cards and supplies side by side.
What the Numbers Mean Before an Upgrade
Knowing the model is step one. Judging whether it can carry a new part is step two. Keep 20 to 30 percent headroom over peak draw as the rule of thumb. If your machine peaks near 400W under full load, a supply in the 500W to 550W range gives a sane cushion. Running a supply flat out at its limit for long gaming sessions wears it harder and leaves no room for spikes.
Before you buy a graphics card, check the maker’s own recommendation for that card. Graphics card makers publish a recommended PSU wattage for each card, based on a typical system around it. Compare that figure with the unit you just identified, and also check that your supply has the right power cables for the card. A strong enough supply with the wrong connectors is still the wrong supply for that upgrade.
Age and strain show clear signs. An aging or undersized power supply shows itself as shutdowns and restarts under load, often in the middle of a game or a render, with no error message to explain the crash. Random restarts that vanish when the load drops are a classic warning. If you see that pattern, do not push the machine harder with a bigger card. Confirm the unit first. A failing supply can harm other parts when it goes, so the cheap sticker inside your case may be the most valuable label in the whole machine.