The short answer to how to photograph textures: light your subject from the side, get close enough to fill the frame with the surface, and expose carefully so you keep detail in both highlights and shadows. Texture photography is 80% lighting and 20% everything else.
Texture is what makes a photo feel tactile — the roughness of tree bark, the weave of fabric, the rust blooming on old metal. But point a camera at a textured surface with flat, front-on light and all that richness vanishes. This guide shows you how to capture it, step by step, with any camera including your phone.
What You Need
- Any camera or smartphone. Texture photography doesn’t demand fancy gear — phones excel at it.
- A tripod or stable surface (helpful, not required). Close-up work magnifies every tiny shake.
- Something to modify light: a white sheet of paper as a reflector, or a piece of translucent fabric as a diffuser. Household items work fine.
- Interesting subjects: bark, stone, fabric, rust, peeling paint, food, leaves — start with whatever is nearby.
Step-by-Step: Photographing Textures
Step 1: Find a subject with real surface detail
Look for surfaces where light and shadow can play: weathered wood, cracked earth, woven textiles, mossy rock, corroded metal. Outdoors, woodland trails, riverbanks, and old fences are packed with options. Indoors, try fabrics, bread crust, leather, or kitchen surfaces. The more three-dimensional the surface, the better.
Step 2: Light it from the side
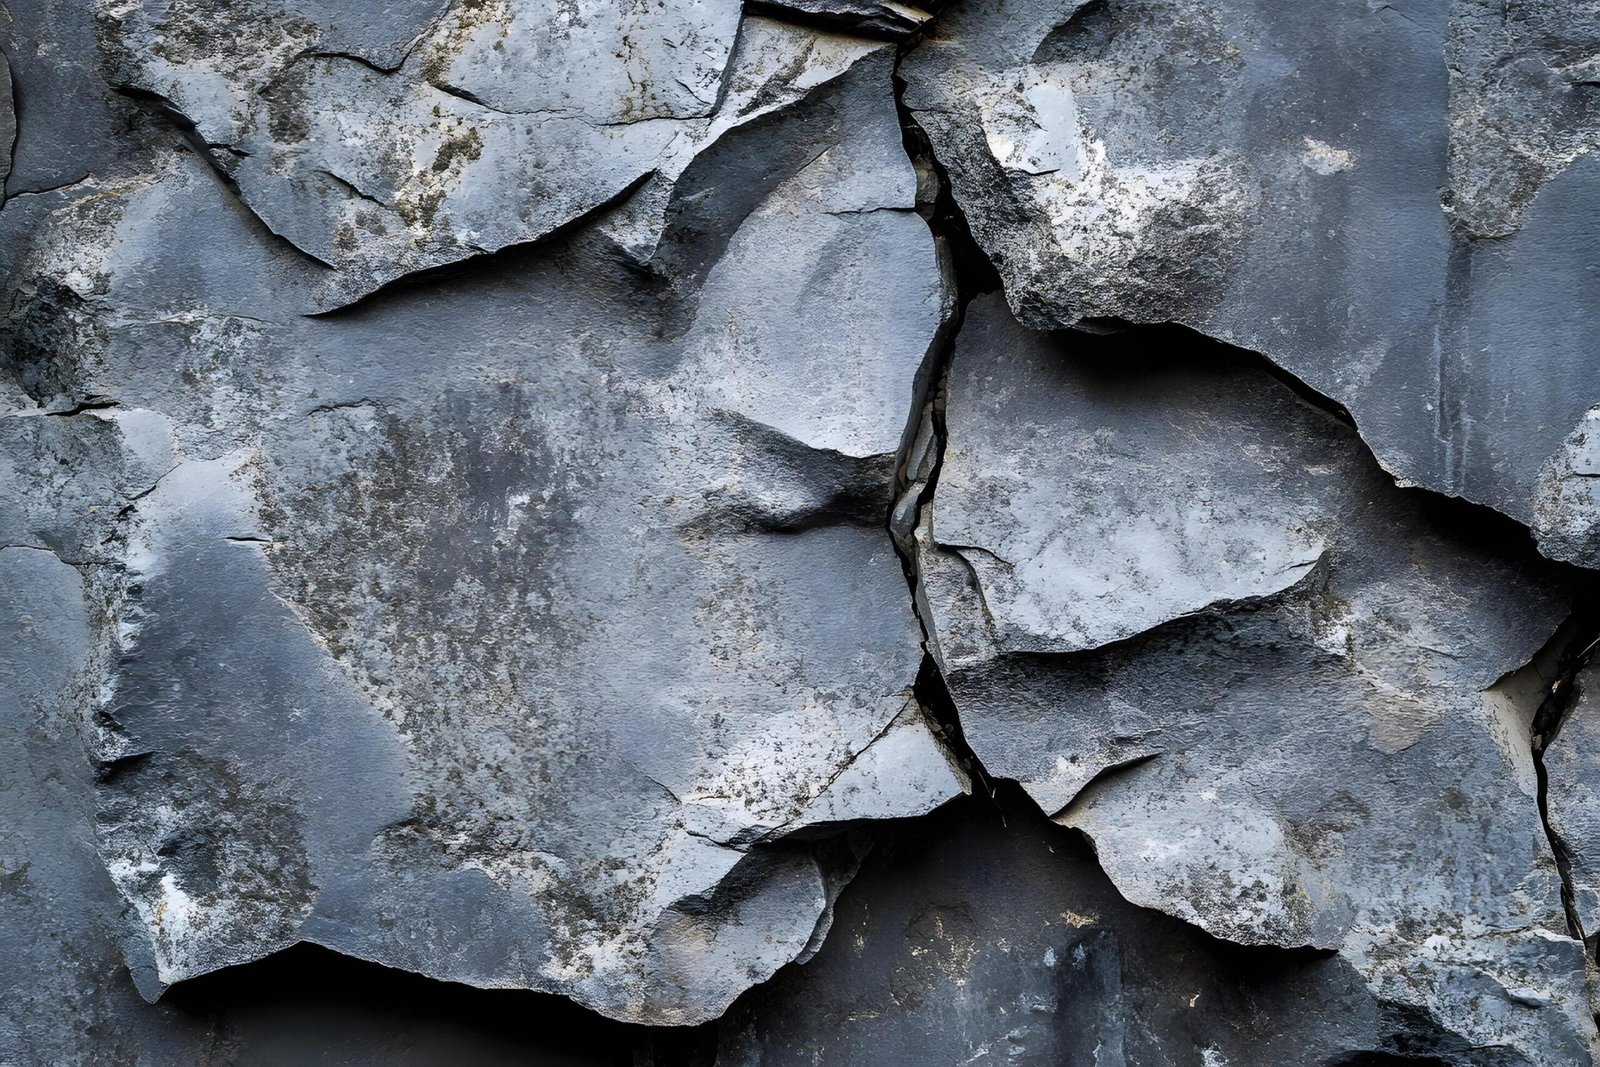
This is the whole game. Texture is revealed by tiny shadows, and shadows only appear when light rakes across the surface at an angle. Front-on light — like your camera’s built-in flash — flattens everything. Instead, position your light source roughly 90 degrees to the side of your subject, as Shotkit’s texture photography guide demonstrates. Outdoors, shoot during golden hour when the sun sits low and shadows stretch long. Indoors, move a lamp to the side of your subject instead of behind your camera.
Step 3: Get close and fill the frame
Move in until the texture itself becomes the subject — no distracting background, no context needed. On a phone, tap to focus on the key detail and use your phone’s macro mode if it has one. On a camera, a 50mm or short telephoto lens at minimum focus distance works well; a dedicated macro lens is a luxury, not a requirement.
Step 4: Control your exposure
Texture lives in the mid-tones between highlight and shadow, so exposure matters enormously. Overexpose and you blow out the highlights, losing surface detail; underexpose and the shadows swallow it. Start with these settings in good light: ISO 100–400, aperture f/5.6–f/8, shutter speed 1/250 or faster handheld. Keep ISO low — noise grain competes with real texture and muddies fine detail. If the light is dim, use a tripod and a slower shutter speed rather than cranking the ISO.
Step 5: Lock focus precisely
At close distances, depth of field is paper-thin. Use single-point autofocus on the most important detail, or switch to manual focus and fine-tune while zoomed in on live view. Take the shot, zoom in on the camera’s screen, and check that the texture is actually sharp — if not, adjust and shoot again. For extreme close-ups, focus stacking (combining several shots focused at different depths) can keep an entire surface crisp.
Step 6: Experiment with angles and light quality
Don’t settle for the first frame. Walk around the subject and watch how the texture transforms as the light angle changes — side, backlit, slightly below. Try hard light (direct sun, bare bulb) for dramatic, gritty texture, and soft diffused light (overcast sky, window light, your DIY diffuser) for subtle, delicate surfaces. As the Camera House macro guide notes, your favorite image often isn’t the one you expected — shoot plenty of variations.
Lighting Cheat Sheet
- Side lighting (90°): maximum texture, dramatic shadows — the default choice.
- Backlighting: glowing edges on translucent textures like leaves or fabric.
- Golden hour: low, warm, directional — ideal for outdoor textures.
- Overcast sky: nature’s giant softbox; great for subtle, even detail.
- Window light: perfect soft directional light for indoor texture work.
Common Mistakes
- Using the on-camera flash. It fires straight at the subject and erases every shadow that makes texture visible. Turn it off.
- Shooting at noon. Harsh overhead sun creates blown highlights and black shadows with no nuance. Wait for angled light.
- Too-high ISO. Digital noise looks like fake texture and destroys the fine patterns you’re trying to capture.
- Busy backgrounds. If the frame includes distracting colors or objects behind the texture, move closer or simplify.
- Forgetting to check sharpness. Always zoom in on the LCD after the shot — slightly missed focus is the silent killer of texture photos.
Phone-Specific Tips
Modern phones are genuinely excellent texture cameras. Use macro mode for extreme close-ups, tap-and-hold to lock focus and exposure, and shoot in the best light you can find rather than relying on night mode. A five-dollar phone tripod eliminates the handshake blur that ruins close-ups. For creative long-exposure texture work (silky water over rocks, light trails on metal), see our guide to long exposure photos on iPhone.
FAQs
What is the best lighting for texture photography?
Side lighting at roughly 90 degrees to the subject. It creates the micro-shadows that reveal surface detail. Hard light emphasizes texture more; soft light renders it more delicately.
Do I need a macro lens for texture photos?
No. Any camera or phone that focuses reasonably close can capture great textures. A macro lens helps for extreme close-ups, but lighting technique matters far more than gear.
What aperture should I use?
Around f/8 is a solid starting point — sharp across the frame with enough depth of field for most surfaces. Go narrower (f/11–f/16) for deeper texture fields in bright light.
Why do my texture photos look flat?
Almost always the light: it’s hitting the subject straight-on. Move the light (or yourself) so it rakes across the surface from the side, and the texture will appear.
Can I photograph textures indoors?
Absolutely — window light is one of the best texture lights there is. Place the subject beside (not in front of) a window and shoot from the shadow side for rich side lighting.
The Bottom Line
Great texture photography comes down to three habits: light from the side, get close enough to fill the frame, and keep your ISO low so real detail survives. Master those, and ordinary surfaces — bark, fabric, rust, stone — start looking extraordinary.