
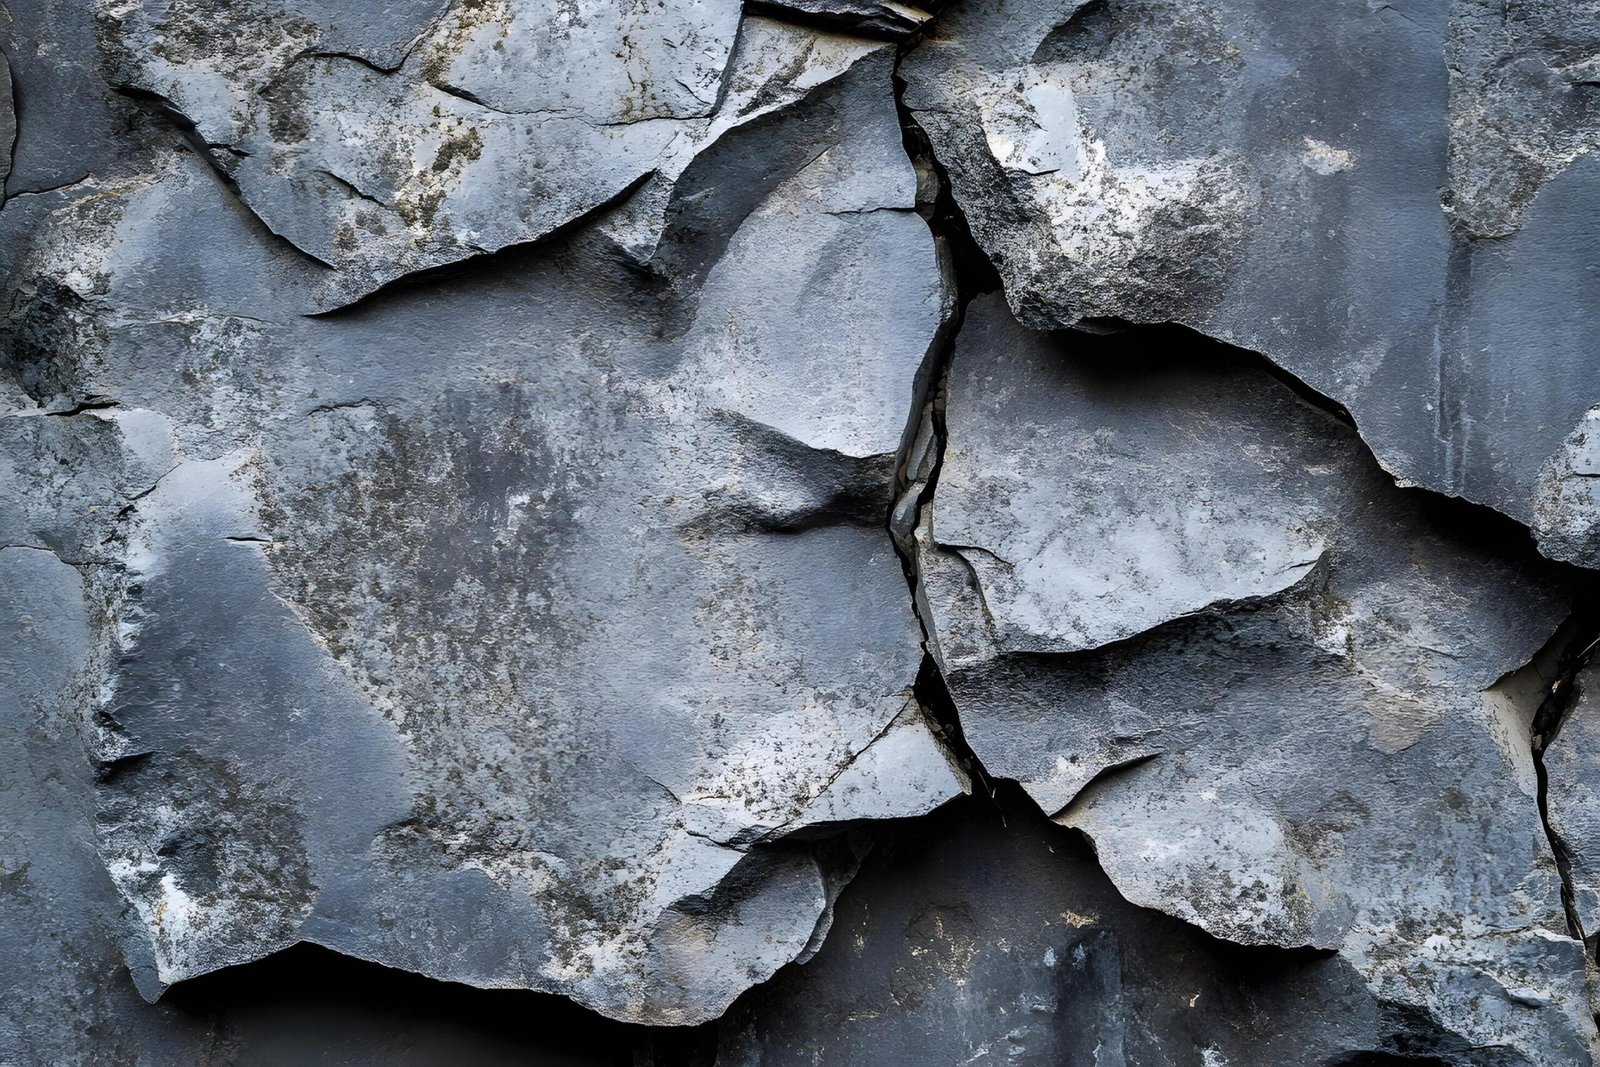
A rough stone wall can stop you mid-walk. Up close it has ridges, pits, cracks, and grit, and it looks made for a photograph. Then the picture comes back flat as wallpaper. The wall did not change. The light did. Facing the wall head-on, with light falling straight onto it, erased every shadow that gave the surface its shape. Texture lives in tiny shadows. Kill the shadows and you kill the texture. One working session with three ordinary subjects shows how to keep those shadows alive.
First Subject: Rough Tree Bark in the Yard
Start with the bark of a mature tree, the kind with deep furrows and loose ridges. Stand in front of it at midday and take the obvious shot. The result is usually dull. Sun high above and light hitting the surface straight on fills each groove evenly, so the grooves vanish. Now walk around the tree until the light comes across the bark instead of at it. When light strikes a surface from the side, at roughly 90 degrees to it, each ridge throws a small shadow and each crack turns dark. The same bark suddenly looks carved.
This sideways light has a name photographers use: raking light, because it rakes across a surface and catches every bump on the way. There is a rough rule of thumb among photographers that texture photography is 80 percent lighting and 20 percent everything else, and the bark shows why the saying survives. The camera did not change. The lens did not change. Only the angle of the light changed, and the picture went from flat to rich. Shotkit’s texture photography guide makes the same point with side lighting at roughly 90 degrees to the subject, and it is worth studying the examples there before your next session.
Before moving in, check the test shot on the screen at full size. Zoom in on the deepest groove. If the groove shows a dark line on one side and a lit ridge on the other, the light is doing its job. If the whole patch looks even and gray, shift your own position a few steps and shoot again. Photographers waste a lot of frames changing settings when the real fix is moving their feet. Light angle is a position problem first and a settings problem second, and the bark makes that clear within two or three frames.
Get close next. Fill the frame with bark alone, with no trunk edge, no grass, and no sky. A tight frame turns a tree into a pattern, and small subjects need that closeness before their detail registers. No macro lens is required for this. A phone’s close-focus or macro mode handles it well, and a basic camera works if you move in as far as it can focus. Lock focus on the surface plane itself, not on a ridge in front or a groove behind. Tap the exact spot on a phone screen, or use a single focus point on a camera, and hold steady. A sharp ridge next to a soft one reads as a mistake, not a style.
Second Subject: A Brick Wall
Move to a brick wall and the same lessons get a new test. Brick has two textures at once: the rough face of each brick and the recessed mortar lines between them. Front light flattens both. Side light deepens the mortar lines into a grid and brings out the pits in each brick. Shoot the wall in three ways to feel the difference. First, stand square to the wall with the light behind you. Second, step along the wall so the light skims across it. Third, stand at a low angle close to the wall and shoot along its length, so one brick sits near the camera and the rest stretch away. Each angle gives a different picture from the same plain wall.
Watch the exposure now. Brick in hard sun has bright faces and dark lines, and a camera left on its own often blows out the bright parts, leaving white patches with no detail at all. Once highlights are gone, no edit brings them back. Tap the brightest part of the frame on a phone and slide the exposure down a touch, or dial in a small amount of negative exposure compensation on a camera. Slightly dark texture can be lifted later. Burned-out texture cannot. Take the shot, zoom in on the screen, and check the lightest brick. If you can still see its grain, the exposure is right.
Light quality changes the result as much as light angle. The same wall gives three different pictures under three kinds of light:
- Harsh midday sun: deep shadows and hard contrast. Coarse surfaces like brick and stone hold up well, and their pits and edges read clearly.
- Overcast sky: soft, even light with small shadows. Colors stay calm, but shallow texture can fade and look washed out.
- Window light: soft like an overcast sky, yet still coming from one side, so it shapes a surface while keeping shadows gentle.
The lesson from the wall is simple. Match the light to the subject. Bold, coarse surfaces can take hard sun. Fine, shallow surfaces usually need softer light from a steep side angle to show anything at all. When the sky goes flat and gray, do not pack up. Move closer, choose a finer subject, and let the side angle do the work the sun is no longer doing.
Third Subject: A Knitted Sweater Indoors
End the session indoors with a knitted sweater, or a piece of rusted metal if you have one. Fine texture is less forgiving than bark or brick. Lay the sweater flat near a window so daylight falls across the knit, not down onto it. From straight above with the room light on, the stitches blend into a flat sheet of color. With window light raking across from one side, each loop casts a tiny shadow and the whole pattern stands up. Move the sweater, not the window. Turn it a few degrees at a time and watch the stitches appear and disappear on the screen before you press anything.
Distance matters more here. Too far back and the knit becomes a smooth blur of yarn. Move in until a section of stitches fills the frame, using the phone’s close-focus or macro mode if it offers one, and keep the phone parallel to the fabric so one edge does not drift out of focus. Focus on the middle of the patch you are shooting. On a fine subject, even a small tilt turns half the frame soft. Take several frames and shift your position slightly between each. A half step sideways changes the light on the loops, and the best frame is often the third or fourth, not the first.
If a piece of rusted metal is your indoor subject instead, the sweater lessons still apply, with one twist. Rust has color as well as texture, and flat light dulls both. Raking window light brings out the flaked, pitted surface, and it also separates the orange and brown tones that front light blends into one dull shade. Watch the bright edges of raised flakes, since bare metal under a crust can catch light and blow out faster than the rust around it. Work the same way: side light first, then closeness, then a careful check of the lightest spot in the frame.
Phone shooters should build two habits during a session like this. The first is to tap and hold on the surface to lock focus and exposure together, so the phone does not refocus on a nearer edge each time the frame shifts. The second is to clean the lens before starting. A pocket-smudged lens softens everything, and softness reads exactly like missing texture. Neither habit costs anything, and both matter more than any filter applied later.
The same habits carry well beyond sweaters and walls. Close focus, side light, and care with highlights are the core skills for any small, detailed subject. They are also the skills behind good phone portraits, where skin, hair, and fabric all read better with soft side light than with a harsh front flash. If you want to see that transfer at work, the advice in how to take professional headshots with an iPhone leans on the same window light and distance choices.
What the Session Teaches
One last habit from the session is worth keeping: shoot each subject more than once and compare the frames side by side before you leave. The comparison teaches faster than any single good shot, because you can see exactly what a step sideways or a small drop in exposure did to the surface. Delete the flat frames without regret. They are not failures. They are the proof that the light, and not luck, made the frames you kept.
Three subjects, one pattern. Texture is not a property the camera finds on its own.
It appears when light crosses a surface at a low, sideways angle and throws small shadows, and it disappears when light falls flat and straight. So the working order for any texture shot is plain. Choose the light before the subject position. Get close enough that the surface fills the frame. Guard the highlights so bright areas keep their grain. Lock focus on the surface plane. Then vary the angle and distance and take more than one frame, because the difference between a flat shot and a rich one is often a single step to the side. The next stone wall you pass will look dramatic in person. Now it can look that way in the photograph too.