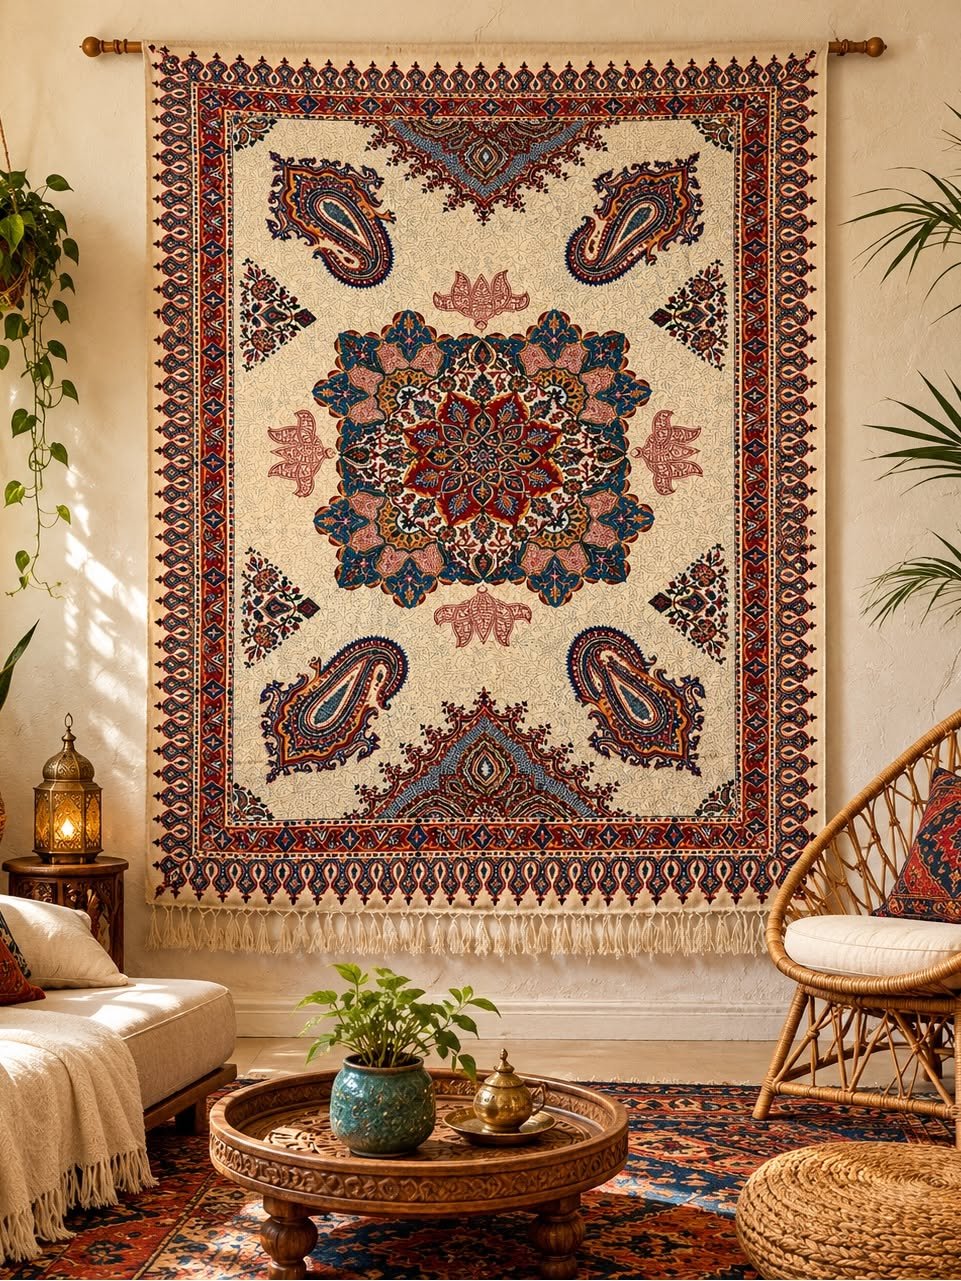
One tapestry can go up seven honest ways, and the right one depends on three things people often decide too late: what the wall can take, how heavy the piece is, and whether a rental deposit rides on the result. A light cotton hanging for a dorm is a different job from a five-pound wool weave over a sofa. Below, all seven methods get compared on the same terms — hold, wall damage, look, effort, and cost — after the short prep that decides whether any of them stays straight and flat. A verdict by situation closes the comparison.
Prep that decides the result before you pick a method
Weigh the tapestry first. A bathroom scale works: weigh yourself holding it, then without, and subtract. Most tapestries run about 1 to 3 pounds. Large, dense weaves can pass 5 pounds, and that number alone rules methods in or out. Strips and pins that shrug at a pound will creep and fail under five.
Check the wall next. Find the studs with a stud finder if you plan anything with real fasteners, and note the wall type. Plaster and lath behave differently from modern drywall, and hollow-wall anchors hold far better than a bare screw in drywall. Decide the height with the piece held up by a helper, not by math alone. As a starting point, the center of a large piece usually sits near eye level, adjusted for furniture below it.
Deal with wrinkles before hanging, not after. Many tapestries arrive folded, and fold lines will not hang out on their own quickly. Hang the piece in a steamy bathroom for about 20 minutes and let gravity and moisture relax the fibers, or steam it gently per the maker’s care notes. Cotton and linen forgive steam; be careful with antique wool or silk, and test an edge first. If the tapestry already hangs in your home and the wall behind it needs work later, note that old paper and paint affect your options — see how to remove old wallpaper without damaging walls before planning a bigger room refresh around a hung piece.
Finally, plan for straightness. A level, painter’s tape to mark the top line, and a second pair of eyes prevent the slow tilt that ruins the look within a week. Most methods below allow tiny adjustments; take them before you call it done.
Method 1: Rod and sleeve — the traditional hang
A rod passes through a fabric sleeve sewn or attached along the back top edge, and the rod rests on two brackets or hooks. If the tapestry already has a sleeve, this is the method it was made for. If it lacks one, a sleeve can be hand-sewn with wide cotton tape or fabric, taking care that stitches catch the backing and not the visible front weave.
Hold is excellent and weight spreads across the full width, which is exactly what heavy pieces need. The look is classic and slightly formal, and the tapestry hangs a small distance off the wall, which helps air circulate behind a wool piece. Downsides: you must mount brackets, which means screws and usually wall anchors; the rod and finials add cost; and sewing a sleeve is real work that some owners do not want to do to a valuable textile. For a permanent hang of a medium or heavy tapestry on a wall you own, this remains the method to beat.
Method 2: Command hooks with clips — the renter’s friend
Adhesive hooks rated for the weight go along the marked top line, spaced every 12 to 18 inches, and small clips — clip rings or binder-style clips in a finish that suits the room — grip the top edge of the tapestry and hang from the hooks. Spacing is the detail that matters. Too few points and the top edge sags into scallops between clips; enough points and the edge reads straight.
Hold is good for light and medium pieces when the adhesive cures fully on clean paint. Damage on removal is minimal if you pull the release tabs as directed and the paint itself is sound. The look is casual and a little visible — you see the clips — which suits cotton prints and dorm-style hangings better than formal weaves. Cost is low, adjustment is easy, and the whole hang can move in an afternoon. On fresh paint, textured walls, or in steamy bathrooms, adhesive grip drops, so test one hook first.
Method 3: Picture-hanging strips — the cleanest look
Interlocking adhesive picture strips attach to a thin board, batten, or the tapestry’s reinforced top edge, and press against matching strips on the wall. Done well, nothing shows: no rod, no clips, no hardware at the sides. That invisible mount is the cleanest result of any method here.
The catch is contact and weight. The strips need a flat, firm surface to grip, so they usually work through a lightweight wooden batten sewn or clipped along the back rather than pressed straight onto fragile fabric. Weight limits are real and must be counted honestly across every strip pair. Removal is clean when the paint is cured and sound, but strips on old, chalky, or freshly painted walls can take paint with them. Best for light, flat pieces where the look matters more than the last pound of capacity.
Method 4: Hook-and-loop fastening — the strongest no-nail hold
One side of a wide hook-and-loop strip sticks or sews to the back top edge of the tapestry; the matching side adheres to the wall or to a mounted batten. Pressed together along the full width, the hold is strong, even, and forgiving of slightly uneven walls. There is no sag between points because there are no points — the support is continuous.
This is arguably the strongest option that leaves no nail holes, which earns it fans in rentals with strict leases and in galleries that rehang often. The trade-offs: adhesive on the wall side can struggle on texture and may mark paint on removal; the fabric side should be sewn, not just stuck, on anything heavy, or its adhesive can creep in warm rooms; and peeling a large piece off makes a loud rip and a real tug, so mount height mistakes are annoying to redo. For medium pieces needing maximum hold without fasteners, it is a serious contender.
Method 5: Nails or picture hooks — simplest, and right for heavy pieces
The direct approach: finish nails, picture hooks, or screws with anchors along the top line, with the tapestry hanging from a sleeve, loops, clips, or its own top hem resting over the fasteners. Picture hooks angled into studs or proper anchors carry serious weight, which is why this plain method still wins for large, heavy weaves where adhesive anything is a gamble.
It is fast, cheap, and honest. It also leaves holes — small ones from finish nails, larger ones if anchors were needed — and it can stress a fragile top edge if the fabric itself bears the load without support. Never hang a valuable textile by driving pins or nails through the weave. Support the edge with clips, loops, or a sleeve, and let the fasteners carry the support, not the art. On walls you own, patched nail holes are a minor cost of a hang that will never creep down at 2 a.m.
Method 6: Push pins — the quickest, and the weakest
Push pins through the top corners and edge, straight into drywall. Five minutes, no tools, near-zero cost. For a thin, light tapestry in a dorm, a teen bedroom, or a seasonal display that will change next month, that speed is the entire point.
Be clear about the limits. Pins hold very little weight, the holes in the fabric can stretch into visible damage over time, and the bottom corners lift and curl with any draft. A piece that matters should not live on pins for long. If pins are the plan, use them only at the top, add enough across the edge to share the small load, and accept that this is a temporary hang with an expiry date.
Method 7: Stretching over a frame — the most polished, the most work
The tapestry is stretched over a wooden stretcher frame, like canvas, sometimes with a backing board, and hung as a framed piece. The result is flat, taut, gallery-clean, and protected at the edges. Wrinkles disappear because tension removes them. For a piece you treat as art — and especially for smaller weaves that read well at a taut, exact rectangle — nothing else looks this finished.
It is also the most labor and the highest cost, and it changes the character of the piece: a tapestry is traditionally soft and slightly alive on the wall, and framing makes it a picture instead. Stretching can stress old or delicate textiles, so antiques belong with a textile conservator, not a staple gun. Choose this for sturdy pieces you intend to keep in one place for years.
Keeping it straight, flat, and up
Whichever method wins, finish the job properly. Step back across the room and check level from a distance; small tilts hide at arm’s length and shout from the doorway. Smooth the piece downward with clean hands. If the bottom curls, a light bottom rod in a lower sleeve or a short length of chain in the hem adds just enough weight on suitable pieces. General project guidance of this kind is covered well in This Old House’s guidance on hanging projects and wall care.
The verdict
Own the wall and the tapestry is medium or heavy? Rod and sleeve, with nails or picture hooks as the close second when a sleeve is not possible. Renting, with a deposit you intend to see again? Command hooks with clips for most pieces, hook-and-loop for a medium piece that needs a stronger hold, and picture strips when the invisible look matters and the weight is light. Need it up tonight for one season? Push pins, knowing their limits. Treating a sturdy piece as permanent art? Stretch it over a frame and be done for a decade. Match the method to the wall, the weight, and the money at risk, and any of the seven will serve. Mismatch them — pins under five pounds, adhesive on fresh paint — and gravity will deliver its own verdict within the month.